

How to install and configure iCloud for Windows 10
Description: This article will show you how to download, install, and configure iCloud on a Windows 10 computer.
- Download iCloud for Windows by visiting the Apple website https://support.apple.com/en-us/HT204283 and selecting the Download button.
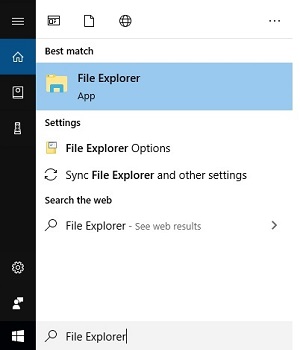
- Type File Explorer into the search box then open File Explorer.
- Choose Downloads under quick access.

- Locate iCloudSetup and double click to launch the setup program.

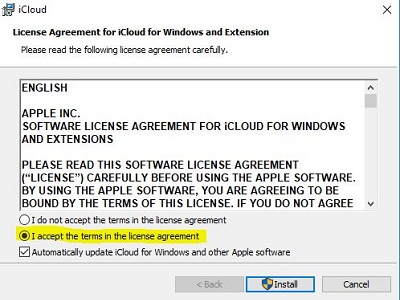
- Read then agree to necessary terms and conditions, and then install.
- Choose Yes on the User Account Control Screen to allow the app to make necessary changes.
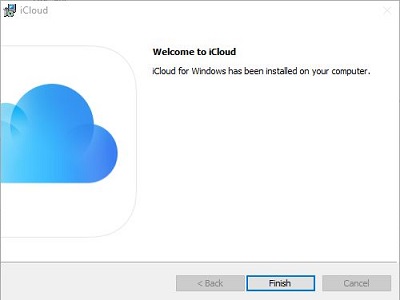
- Choose Finish to complete the install.
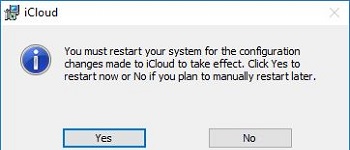
- Restart the computer.
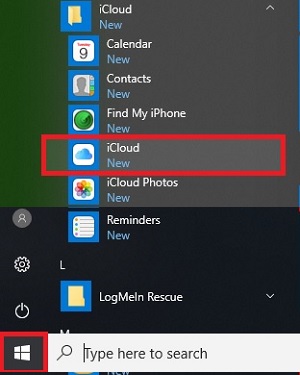
- Open iCloud from the Windows Start menu.
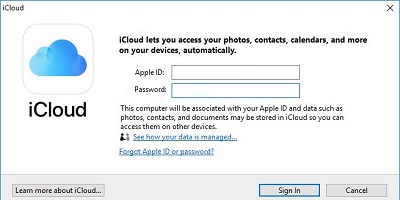
- Sign in with your Apple ID
- Choose usage preferences, either Automatically Send or Don’t Send - the choice either way doesn’t affect the use of the program.

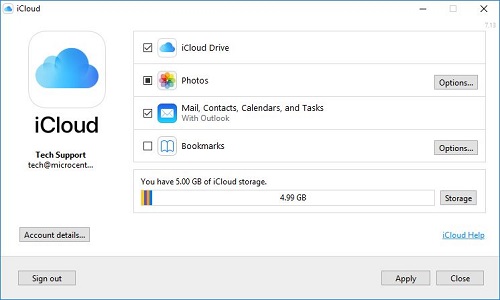
- Choose what you want to Sync to iCloud then Apply - some items have additional options that can be changed.
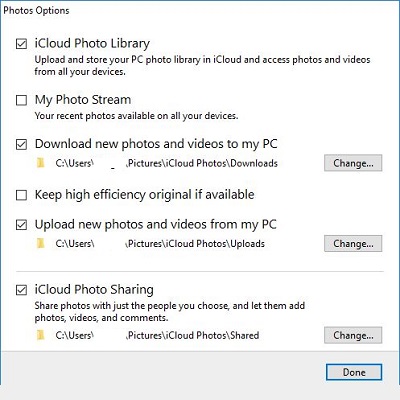
- Photos – Allows you to change where downloaded photos from icloud are saved, and which folder is automatically uploaded to icloud.
- Bookmarks – allows you to choose which browsers sync bookmarks

- Photos – Allows you to change where downloaded photos from icloud are saved, and which folder is automatically uploaded to icloud.
Technical Support Community
Free technical support is available for your desktops, laptops, printers, software usage and more, via our new community forum, where our tech support staff, or the Micro Center Community will be happy to answer your questions online.
Forums
Ask questions and get answers from our technical support team or our community.
PC Builds
Help in Choosing Parts
Troubleshooting