

How to use the Snipping Tool in Windows 10
Description: This article will show you how to open and use the Snipping Tool and what you can do with this utility.
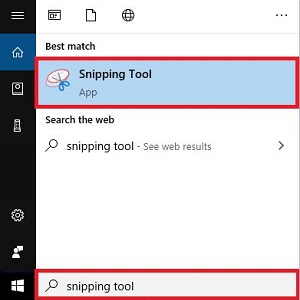
- In the Windows Search Bar type Snipping Tool and then select it from the list to open the utility.
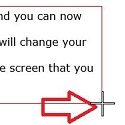
- You will now see the a Snipping Tool window appear and you can proceed to use it. To use the basic rectangular snip, select New. This will change your cursor for the snipping tool to what resembles a plus sign. Select and drag over a selection on the screen that you want to snip.
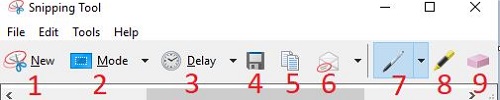
- There are several things you can do when snipping with this tool:
- Reset snip or take a new snip
- Change the mode of snip
- Change the snip type to delay so you can take a delayed shot
- Save your snip as a file
- Copy your snip so that you can paste it
- Attach snip to an email to send
- Use a pen or pencil to mark your snip
- Highlight sections of your snip
- Erase changes that you have made with the pen or highlighter
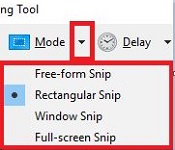
- There are also multiple was that you can snip with the tool:
- Free Form – Draw a line around what you want snipped
- Rectangular – Create a rectangle around the area
- Window – Select a window on your screen to be entirely snipped
- Full screen – Automatically snip your entire selected screen
- You can also go into the Options tab to change how snips work as well as change your pen settings.
Technical Support Community
Free technical support is available for your desktops, laptops, printers, software usage and more, via our new community forum, where our tech support staff, or the Micro Center Community will be happy to answer your questions online.
Forums
Ask questions and get answers from our technical support team or our community.
PC Builds
Help in Choosing Parts
Troubleshooting