How to set up the HP Office Jet 4500 Wireless Printer and USB
Description: Unbox and setup the OfficeJet 4500 Printer through connecting to a network and / or plugging in USB. This does not include software setup. The HP OfficeJet 4500 is able to connect both through a USB and a wireless connection. The following guide supplements the steps given in the setup guide from HP.
- Unpack the printer from the box.
- Remove the cables and the install disk.
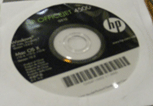
- Turn the box upside down on a large table or on the floor and slide out the printer.
- Remove the foam packing from the sides
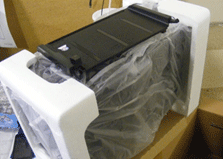
- Remove the plastic bag.
- Remove all plastic from the tops and sides of the printer.
- Open the print cartridge bags and remove the plastic cover from the copper colored contacts.
- Remove the cables and the install disk.
- Plug in the printer into a power source.
- This is the purple connection in the back and the tab/clip will be to the top of the plug.
- Power on the Printer with the power button on the lower left of the control panel.

- After powering on a question about English 1 or another language appears in the display.
- Press the number for 1 on the numeric pad for English.
- Use the left and right arrow keys on either side of the OK to change the displayed code for other languages.
- Next on the display is a Location question, USA=11.
- Use the left and right arrow keys on either side of the OK button to look for choices.

- Type the number of your location in the numeric keypad.
- Then verify by pressing 1.
- Power off and then on to keep the settings.
- Use the left and right arrow keys on either side of the OK button to look for choices.
- Next message will be that the Print Cartridges are missing or not detected.
- Open the printer door and turn the printer off and then on again.
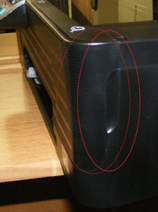
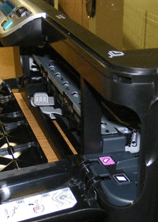
- The print head will move back and forth a few times and then settle in the opening.
- If the print head does not move to the right position close the door wait for 5 seconds and open it again.
- Give about 15 to 30 seconds between attempts to allow the system to move the print head into place.
- Remove the plastic from the bottom of the cartridge to reveal the contacts if not done yet.
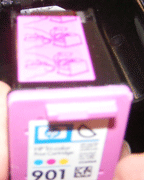
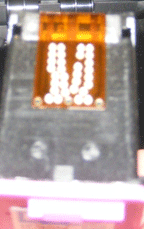
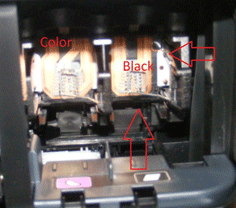
- Put in the color to the left at a slight upward tilt to the front and then press forward and up.
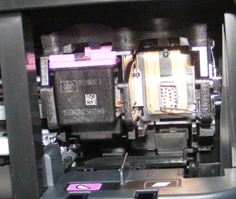
- Do the same with the black on the right side of the print head pushing forward and then up with a force just a bit more than gentle.
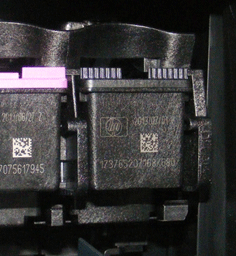
- Close door and click OK on the control panel.
- The printer will move the print head around in the printer.
- Open the printer door and turn the printer off and then on again.
- Install the Paper guide.
- The guide has two prongs that will insert into the holes on the side of the main opening at the bottom of the printer.
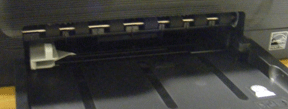
- With the end of the guide slightly up, slide the prongs into the holes and allow the tray to drop into position.
- Load paper into the tray - about 20 sheets.

- The guide has two prongs that will insert into the holes on the side of the main opening at the bottom of the printer.
- Press OK to start the alignment process.
- The printer will print a sheet.
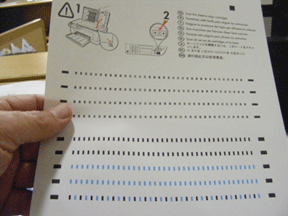
- Place this into the scanner and press OK.
- The scanner will run and then a page will print the HP 4500 menu map.
- Please file this map for later use.
- The printer will print a sheet.
- To turn on the wireless:
- Press the wireless button on the left of the control panel.
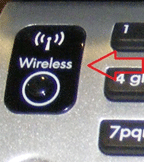
- The light will turn blue.
- Press the wireless button on the left of the control panel.
- To connect to a wireless network.
- Press the button on the far right with a wrench symbol.
- Use the right arrow key by the OK button to go to the wireless menu and press the OK button.
- You will see Setup Wizard.
- Press OK.
- It will search for wifi in the area.
- When it finds wifi routers it will display the name(s) (tenda for example) press OK if the first name presented is correct.
- If this is not the right network, use the right arrow button to see more available networks to connect to.
- When the correct network name appears press OK on the panel.
- If the printer connects you will see a message Success, connected to network, press OK.
- The Printer Software can now be installed.
- If this is a Windows computer, install the software on the CD first before plugging in the printer with the USB connection - or before connecting to the Wifi printer.
- If this is a Mac computer, plug the printer in first before installing the software from the CD.
- If the printer is connected by USB there will be a pop up that will allow the software to be installed automatically. This can be used rather than the CD for printer install.
- To use the USB cable connection.
- Plug the round end of the connection into the back of the printer.
- Plug the square end of the connection to the USB port on the computer.
Technical Support Community
Free technical support is available for your desktops, laptops, printers, software usage and more, via our new community forum, where our tech support staff, or the Micro Center Community will be happy to answer your questions online.
Forums
Ask questions and get answers from our technical support team or our community.
PC Builds
Help in Choosing Parts
Troubleshooting

