

How to mount an Intel D34010WYK NUC to a Monitor
Description: The NUC (Next Unit of Computing) is an ultra-compact 4 X 4 powerful full featured machine that weighs less than 18 ounces. These systems come barebones. To be fully functional you will need to add an SSD drive, RAM and a wireless card. These are small enough to be mounted on the back of a monitor using standard VESA mounts. Mounting bracket is included. This article will show you how to mount this unit to a monitor.
- The first step is to locate the mounting screws in the accessories bag.
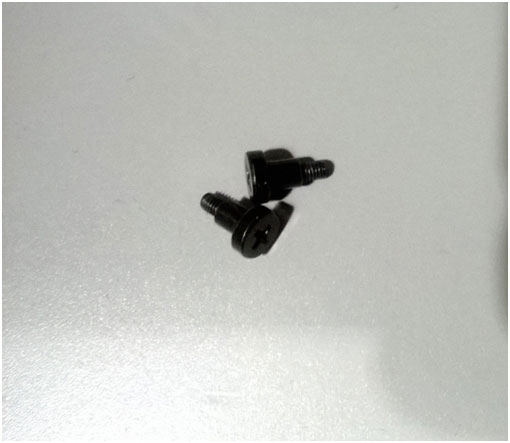
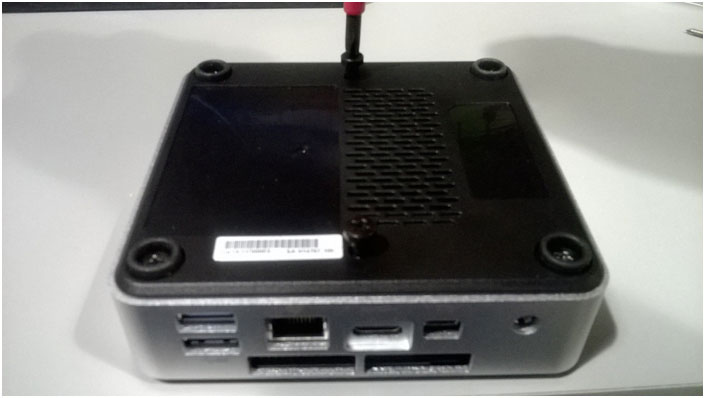
- Mount the screws into the back of the NUC as shown below.
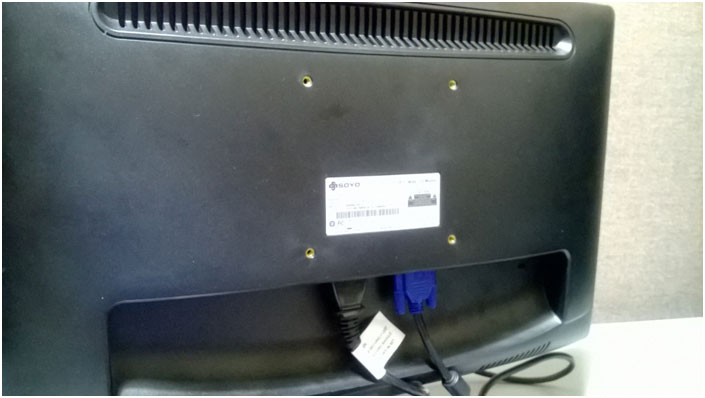
- Locate the VESA mounting holes on the back of your monitor.
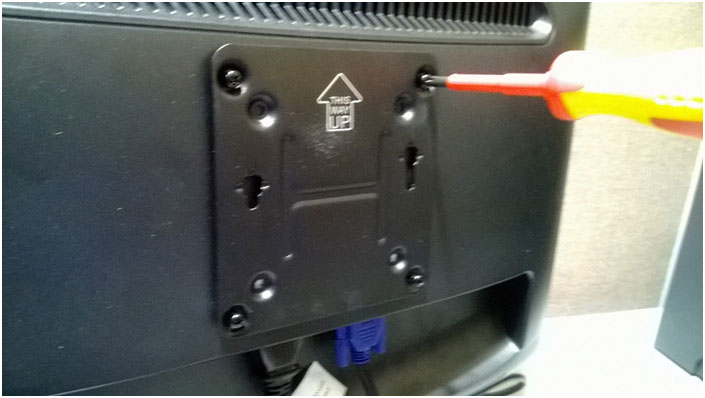
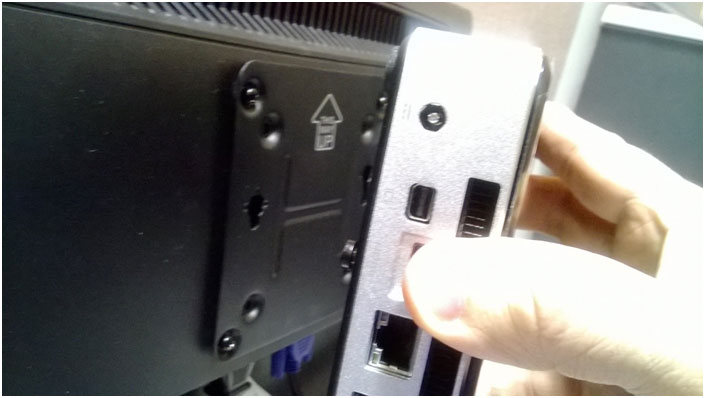
- Attach the mounting bracket (included) to the back of the monitor as shown. Taking care to mount with the arrow facing up.
- Insert the NUC with the mounting screws into the holes and push down firmly.
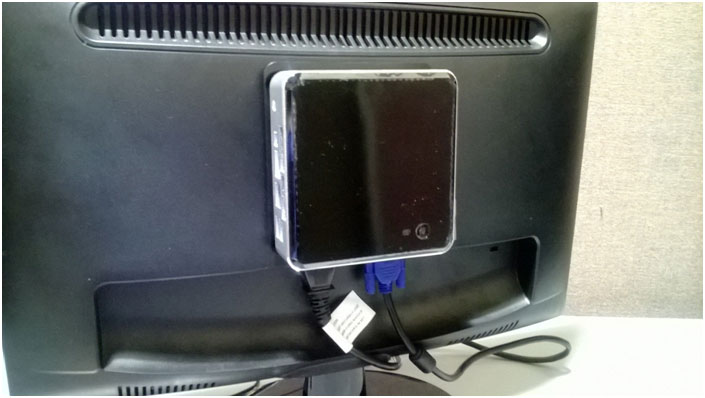
- The NUC is now mounted unto the monitor. The NUC unit will now take up little space more than the monitor alone would.
Technical Support Community
Free technical support is available for your desktops, laptops, printers, software usage and more, via our new community forum, where our tech support staff, or the Micro Center Community will be happy to answer your questions online.
Forums
Ask questions and get answers from our technical support team or our community.
PC Builds
Help in Choosing Parts
Troubleshooting