

How to back up Files in Windows 10
Description: This article will show how to back up files using the File History feature that is built in to Windows 10.
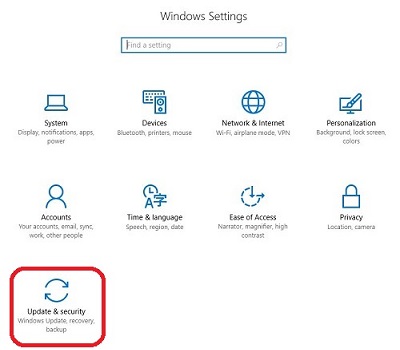
- Select the Windows Start Button and then choose Settings.

- Choose Update & Security.
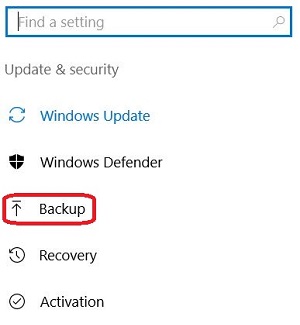
- Select Backup from the menu.
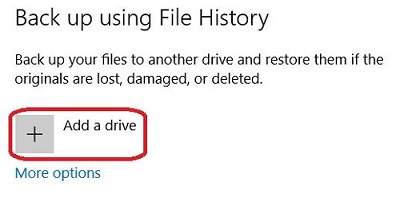
- Select the plus sign next to add a drive and then choose your backup drive from the list. This will enable the backup, and run it with default settings.
- Select More options to view the more advanced settings.
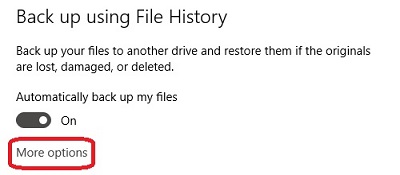
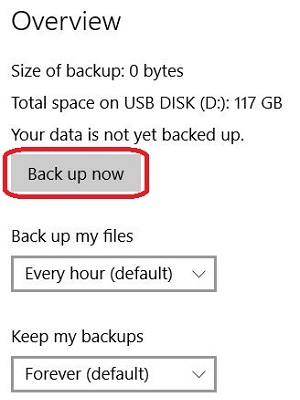
- You can start an on demand backup by choosing the Back up now button.
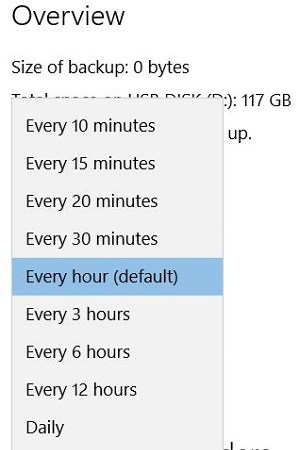
- Select the dropdown menu under back up my files to choose how often Windows will back up your files. This is set to every hour by default if you don't change it.
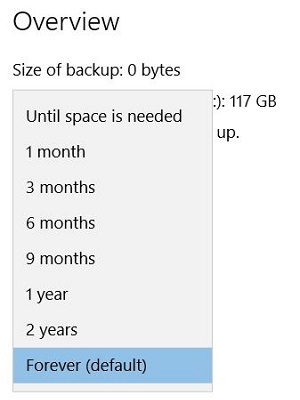
- Select the dropdown menu under back up my files to choose how long Windows will retain your backup. The default setting is forever, but it is recommended that this is changed to until space is needed so that your oldest backups will be deleted to make room for the newest backups.
- By default, Windows will only back up your default user folders. To add more folders, choose the plus sign next to Back up these folders.

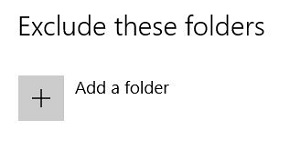
- If you want to avoid backing up specific folders, you can select the plus sign next to add a folder under Exclude these folders.
- To remove a folder from the backup list or the exclude list, Select the folder in the list and then Choose remove.

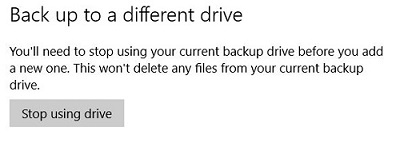
- If you want to change the backup drive, choose Stop using drive and then refer to steps 1, 2, and 3 to select your new drive.
Technical Support Community
Free technical support is available for your desktops, laptops, printers, software usage and more, via our new community forum, where our tech support staff, or the Micro Center Community will be happy to answer your questions online.
Forums
Ask questions and get answers from our technical support team or our community.
PC Builds
Help in Choosing Parts
Troubleshooting