How to replace the Memory in the PowerSpec NUC1
Description: The PowerSpec NUC1 computer has two memory slots which are occupied by two SO-DIMM modules, but the memory can be changed or upgraded by swapping out the existing memory. This article will show how to replace the memory in the PowerSpec NUC1.
- Turn the NUC1 upside down, so that the four screws are facing upwards.
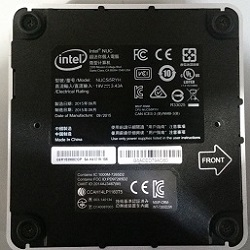
- Begin loosening each screw using a Philips screw driver.
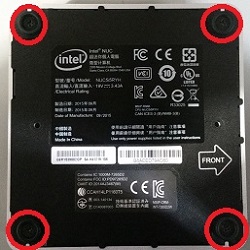
- Once the screws are all loose, they will not come out due to being held in place with retainers. Carefully remove the bottom of the NUC1.
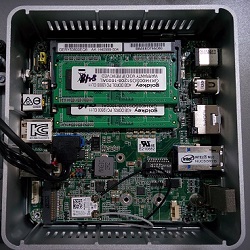
- Beginning with the top memory stick, gently push the latches away from the memory stick to release the tension on the memory stick and allow it to be removed. Be careful not to damage the retention clips during this process.
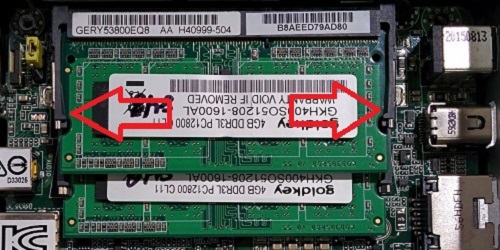
- Repeat the previous step for the next memory module.
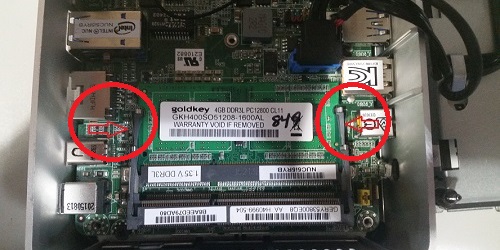
- Start with the slot closest to the motherboard to install the new memory. Place the module into the slot and carefully push toward the motherboard, the latches will then snap back into place holding the memory.
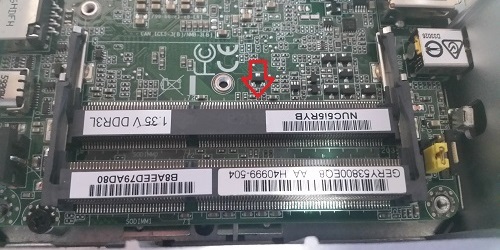
- Install the second stick on top of the previous one. Place the stick into the slot closer to the vent, and gently push toward the motherboard - the latches will then snap into position.
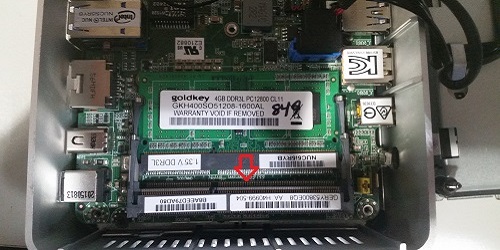
- Place the bottom of the unit back into position, and begin tightening the screws.
- Power the unit on with a monitor connected to test the installation.
The PowerSpec NUC1 supports 204-pin SO-DIMM DDR3L SDRAM up to a total of 16GB using two 8GB modules.
Technical Support Community
Free technical support is available for your desktops, laptops, printers, software usage and more, via our new community forum, where our tech support staff, or the Micro Center Community will be happy to answer your questions online.
Forums
Ask questions and get answers from our technical support team or our community.
PC Builds
Help in Choosing Parts
Troubleshooting

