

How to check or change File Permissions in Windows 10
Description: This article describes how to check and change file permissions for a file in Windows 10.
- Open File Explorer.

- Locate the desired file. In this example, Test Document is that desired file.
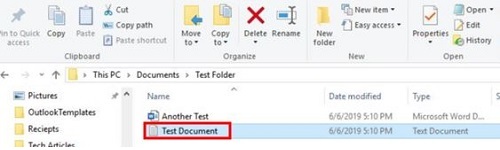
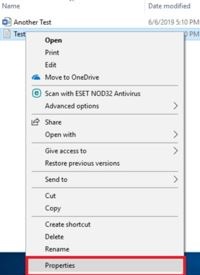
- Right click on the file and go to Properties.
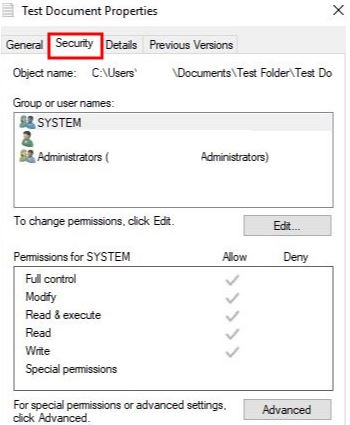
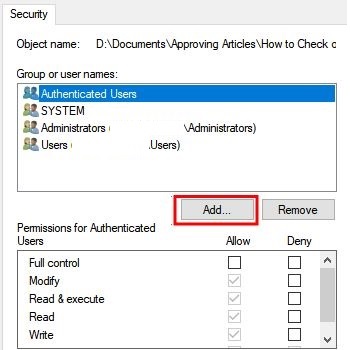
- Choose the Security Tab at the top to view current permissions.
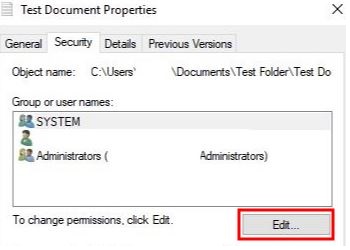
- To edit permissions for certain users, select Edit.
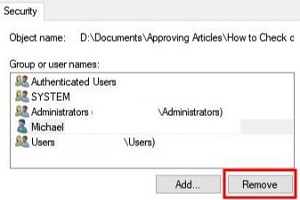
- To add an account, select Add.
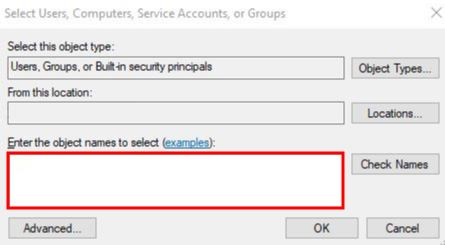
- Type the username of the account in the Enter the objects names box.
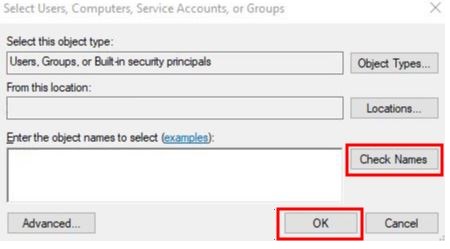
- Choose Check Names, then choose OK.
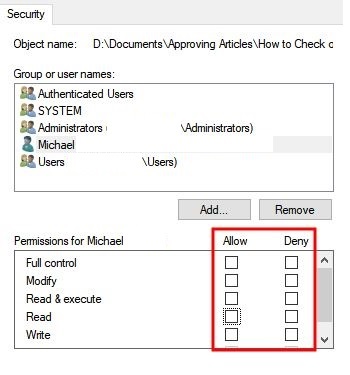
- Select the checkboxes under Allow to give permission or under Deny to prevent access.
- To remove an account from the list, select Remove.
- Once permissions are set, choose Apply and then OK to save changes.

Technical Support Community
Free technical support is available for your desktops, laptops, printers, software usage and more, via our new community forum, where our tech support staff, or the Micro Center Community will be happy to answer your questions online.
Forums
Ask questions and get answers from our technical support team or our community.
PC Builds
Help in Choosing Parts
Troubleshooting