
How to set up a Scheduled Scan with Malwarebytes Premium
Description: This article will show you how to set up a scan to automatically run with Malwarebytes on your computer. NOTE: This feature requires a Premium version of Malwarebytes.
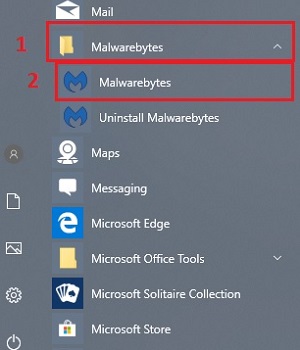
- To open Malwarebytes, select the Start Button.

- Scroll down the list of programs in alphabetical order and locate Malwarebytes. First, open the Malwarebytes folder, then second, choose Malwarebytes.
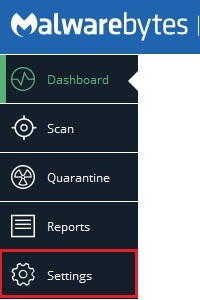
- From the Malwarebytes program select Settings on the left side.
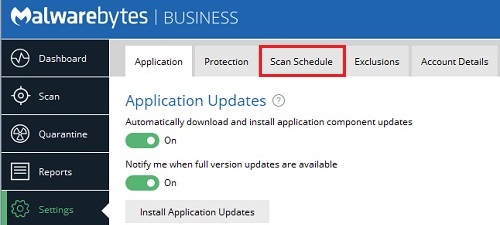
- Choose Scan Schedule from the Settings window.
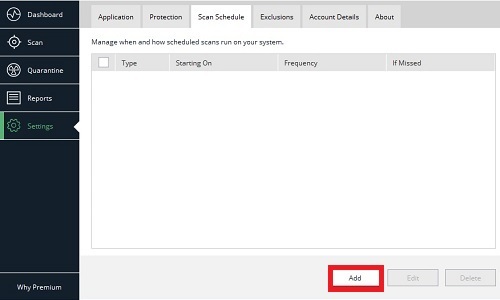
- Select Add at the bottom of the Scan Schedule window.
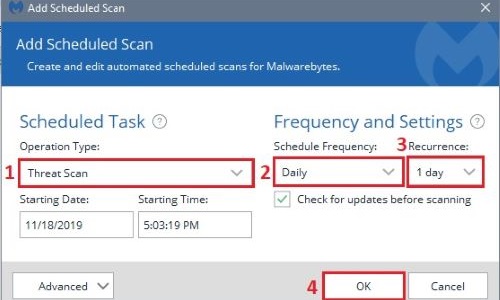
- An Add Scheduled Scan window will appear.
- Select the type of scan to run under Operation type.
- Select the schedule frequency of the scan, which can be set to Daily, Weekly, Monthly or On reboot.
- Select the recurrence of the scan, if necessary. For example, to scan every three days, select Daily and 3 days.
- Select OK to save the scan settings.
- The scan will now appear in the Scan Schedule menu.

Technical Support Community
Free technical support is available for your desktops, laptops, printers, software usage and more, via our new community forum, where our tech support staff, or the Micro Center Community will be happy to answer your questions online.
Forums
Ask questions and get answers from our technical support team or our community.
PC Builds
Help in Choosing Parts
Troubleshooting