
How to set up RAID using Intel RST
Description: This article will show you how to set up a RAID configuration using the Intel Rapid Storage Technology (RST) software.
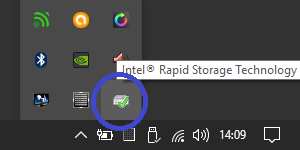
- Open the Intel RST software on the computer.
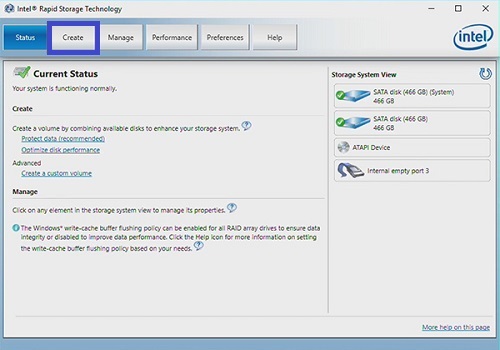
- On the Intel Rapid Storage Technology window, select Create at the top.
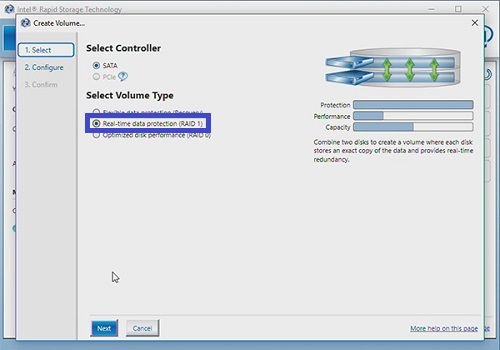
- On the Create Volume window that comes up, select the volume type that you want to use.
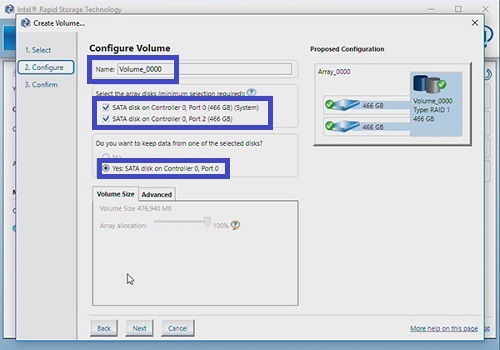
- Configure the volume for the RAID setup. This includes giving the RAID volume a name, selecting the disks to be used and then choosing if you want to keep data from one of the selected disks.
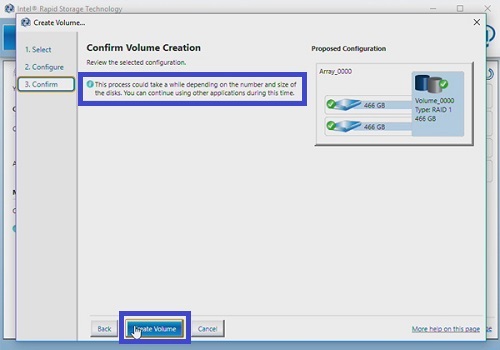
- You will be given a chance to review your setup before finalizing it. Make sure what is set up under Proposed Configuration on the right is set to what you want, then choose Create Volume.
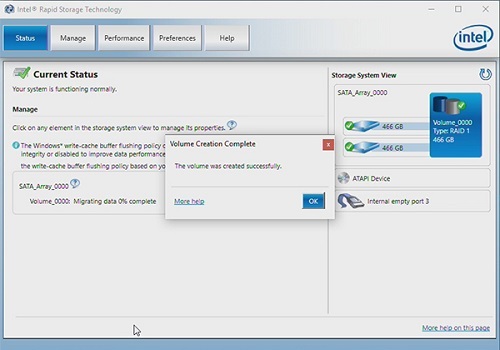
- You will return to the status page and a message will also come up to let you know that the volume was created successfully. You can select OK to close this window.
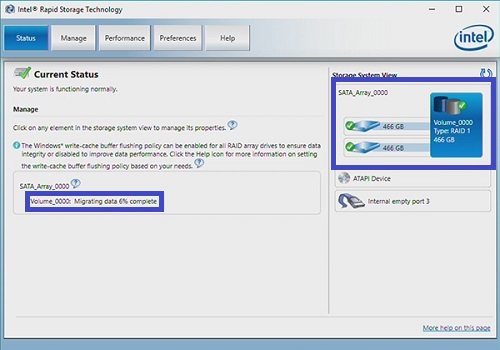
- On the status page you can see the system view on the right which displays the drives used for the RAID array. You can also monitor the progress of the data migration at the bottom of the main section.
Technical Support Community
Free technical support is available for your desktops, laptops, printers, software usage and more, via our new community forum, where our tech support staff, or the Micro Center Community will be happy to answer your questions online.
Forums
Ask questions and get answers from our technical support team or our community.
PC Builds
Help in Choosing Parts
Troubleshooting