
How to change the Workgroup Name in Windows Vista
Networking two machines together for file sharing typically requires both machines to be on the same Workgroup. This guide will walk-through how to change the Workgroup name in Windows Vista
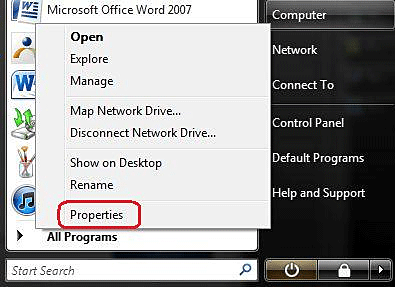
- Click Start.
- Right-click on Computer and select Properties.
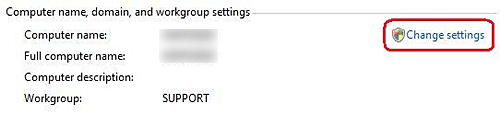
- Click Change Settings under Computer name, domain, and workgroup settings.
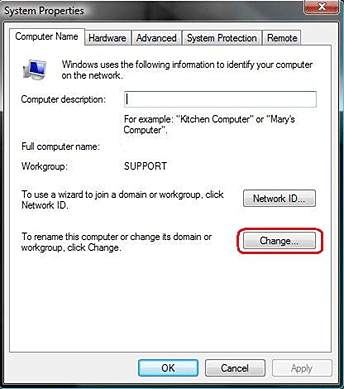
- Click the Change button.
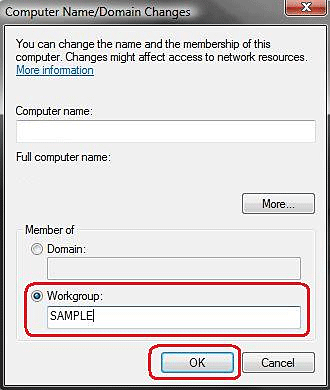
- Enter the new Workgroup name and click OK.
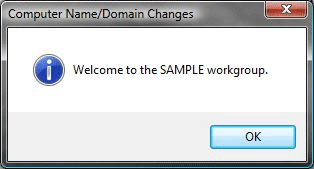
- Click OK on both of the confirmation messages that appear.
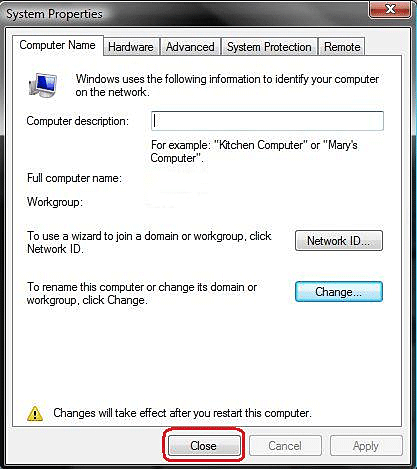
- Click Close.
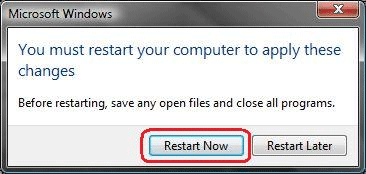
- Click Restart Now.


Technical Support Community
Free technical support is available for your desktops, laptops, printers, software usage and more, via our new community forum, where our tech support staff, or the Micro Center Community will be happy to answer your questions online.
Forums
Ask questions and get answers from our technical support team or our community.
PC Builds
Help in Choosing Parts
Troubleshooting