
How to install Windows 7
This how-to guide show you how to install Windows 7 using your operating system disc.
- Place the Windows 7 disc into the optical drive.
- Reboot the computer.
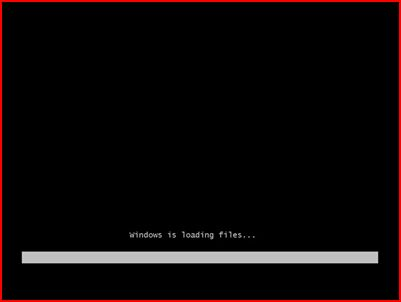
- When prompted, press any key to boot from CD or DVD to get the screen below:
- Note: You may need to change the boot order to boot from the optical drive first
- Note: You may need to change the boot order to boot from the optical drive first
- Select the language, Time and currency format, and Keyboard or input method.
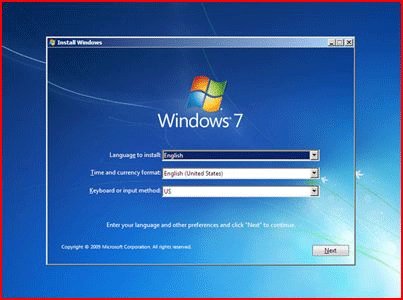
- Click Install Now.
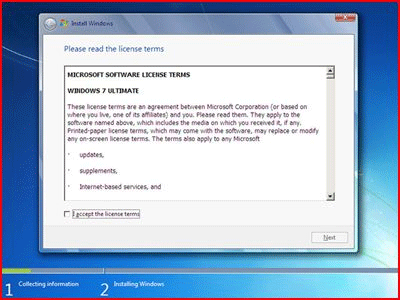
- Accept the license terms and click Next.
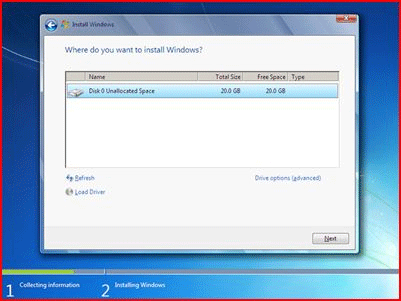
- Select the Custom (advanced) installation.

- Select the disk with the largest available partition and click Next.
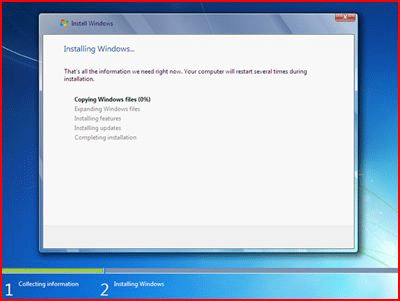
- Windows will then begin to install as shown below. Allow that to complete and the computer will reboot automatically into Windows 7.
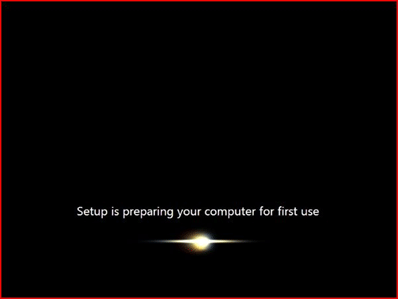
- Once the machine reboots DO NOT press a key to boot from the disc again if prompted. Simply allow this prompt to pass and setup to load.
- Enter the primary user name and click Next.
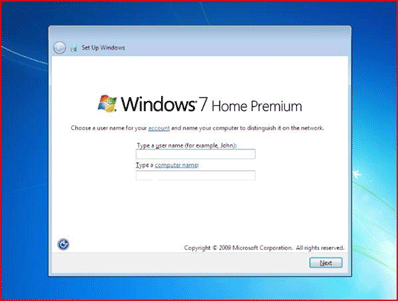
- The computer name is automatically generated from the primary user name. This is the default of the machine and does not require a change.
- Create a password for the user account, including a password hint. Then click Next.

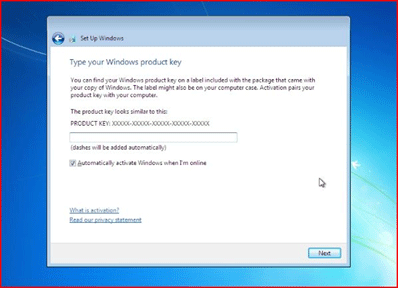
- Enter your Product Key from the sticker on the machine or the Product Key sticker that came with the OEM disc and click Next.
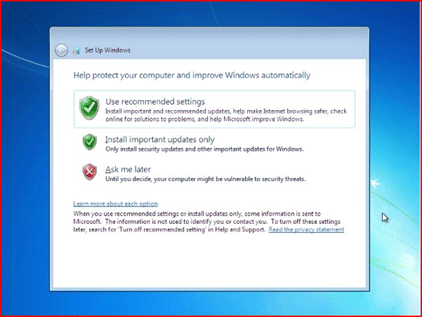
- Click Use recommended settings in the next window.
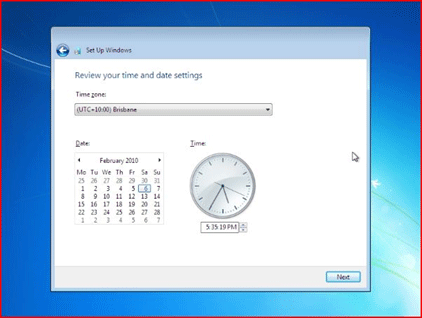
- Select your time zone from the drop-down menu and verify the time to be correct then click Next.
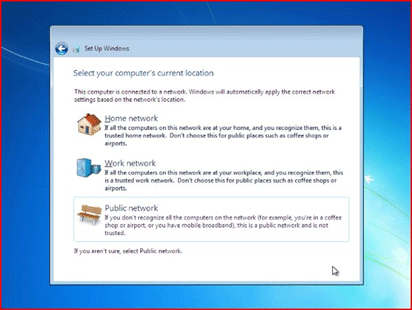
- Click Home on the next screen.
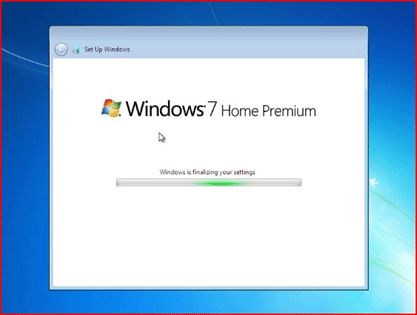
- Setup will then finalize settings and your computer will be ready for use.
Technical Support Community
Free technical support is available for your desktops, laptops, printers, software usage and more, via our new community forum, where our tech support staff, or the Micro Center Community will be happy to answer your questions online.
Forums
Ask questions and get answers from our technical support team or our community.
PC Builds
Help in Choosing Parts
Troubleshooting