
How to take Ownership of a File or Folder in Windows 10
Description: This article will show you how to change the owner of a file. This can be useful when accessing files transferred from another computer or getting a message stating you don’t have permission to access a file.
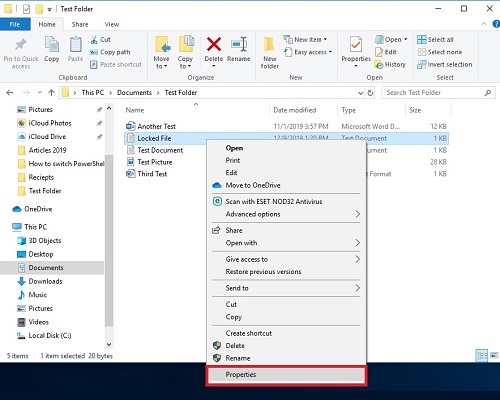
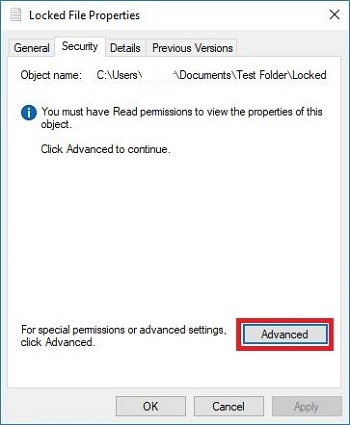
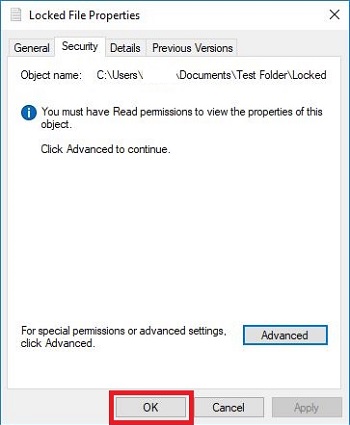
- Right Click the File or Folder you need to take ownership of then choose Properties.
- Select the Security tab.
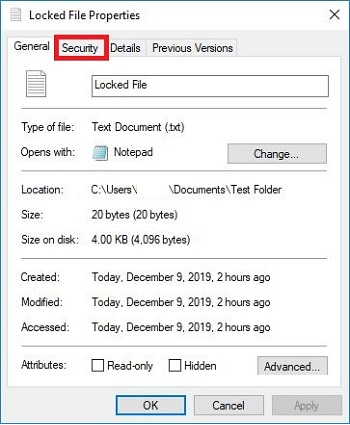
- Choose Advanced.

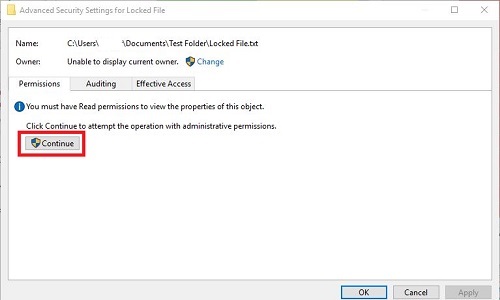
- Choose Continue.
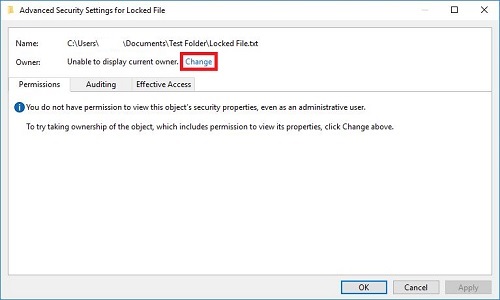
- Choose Change.
- Type your username, select Check Names, then choose OK.

- Select OK again.
- Choose Advanced.
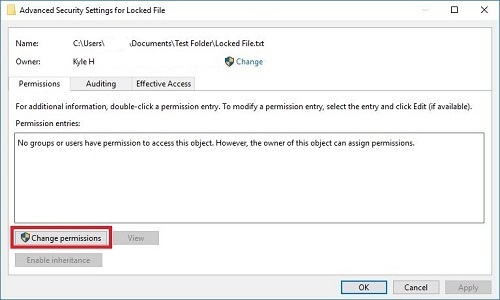
- Choose Change permissions.
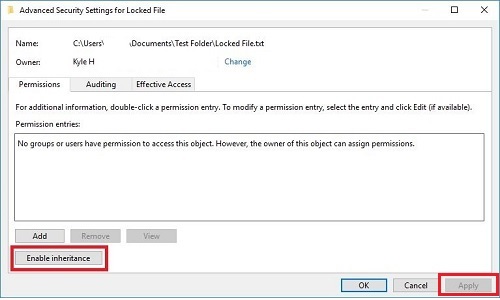
- Select Enable inheritance and then Apply.
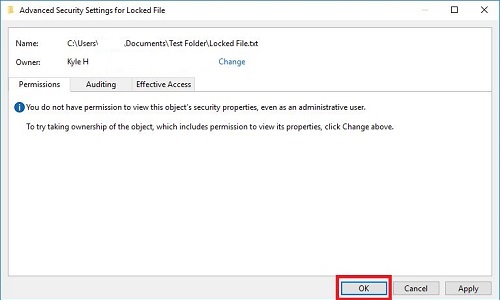
- Select OK.
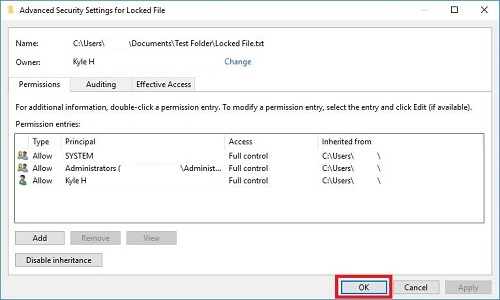
- Select OK again.
Technical Support Community
Free technical support is available for your desktops, laptops, printers, software usage and more, via our new community forum, where our tech support staff, or the Micro Center Community will be happy to answer your questions online.
Forums
Ask questions and get answers from our technical support team or our community.
PC Builds
Help in Choosing Parts
Troubleshooting