
How to create a new table in Microsoft Access 2010
Description: Exporting comes in handy when moving between computers, switching accounts, or just for backing up.
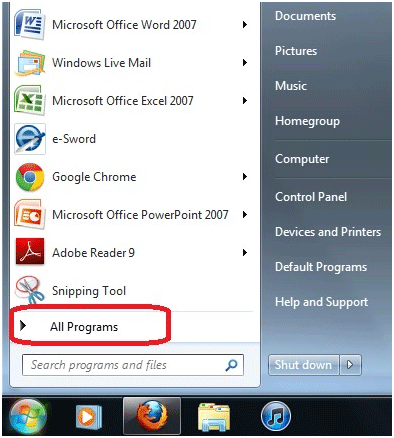
- Click on the Start button
 in the bottom left corner of the screen. Then click All Programs.
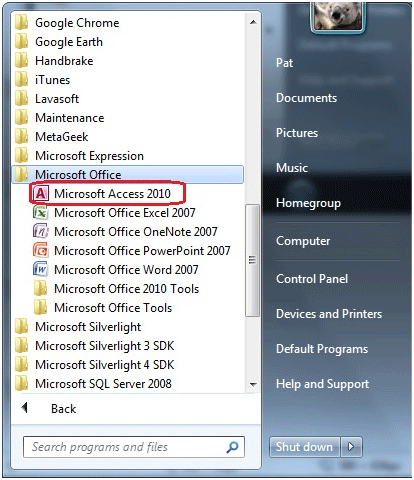
 - Expand the Microsoft Office folder. Click on Microsoft Access 2010.
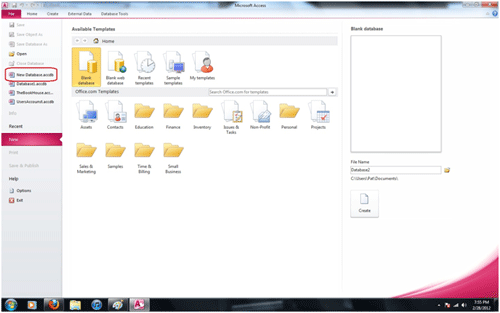
- Microsoft Access will keep the most recently opened databases in the left pane for quick access. If the database intended for editing is located there, click on it to open it. If not, click on Open in the left pane, then navigate to the database location, click on the database, then click Open.
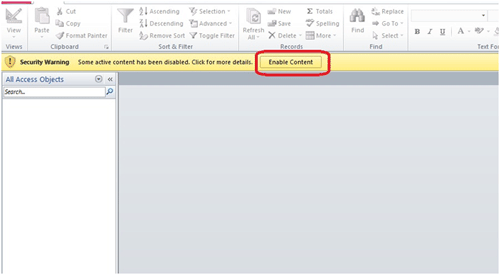
- If a security warning appears at the top of the window, click Enable Content.
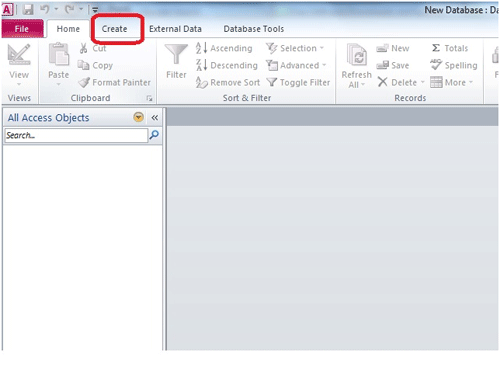
- Click the Create tab at the top of the window.
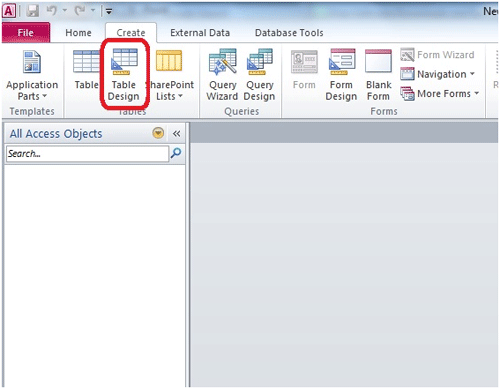
- Click Table Design.
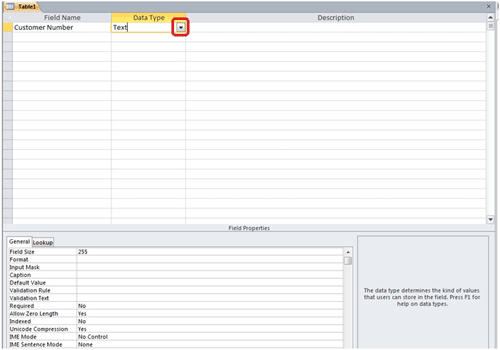
- The Table Design window will open, as pictured below.
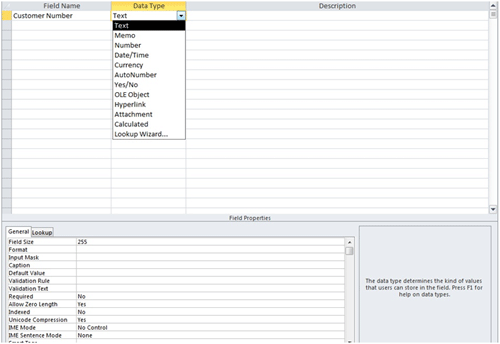
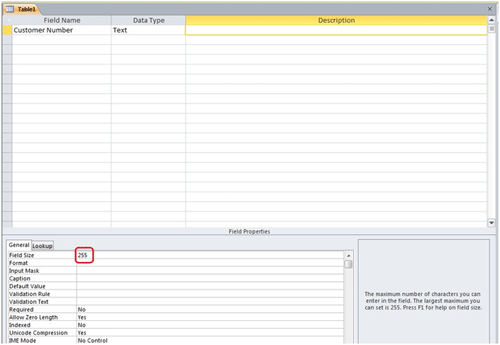
- In the Field Name text box, enter the name for the first field in the table. Click the dropdown menu under Data Type to select which type of data is appropriate for the field.
- For this example, Text will be an appropriate data type, so it will be left at its default.
- The size of the field can be limited if Text is selected as the data type. If it is appropriate to limit the number of characters in this field, click in the Field Size text box under Field Properties to edit the field size. The Description text box is optional. Entering a description here can be helpful to keep track of what each field represents.
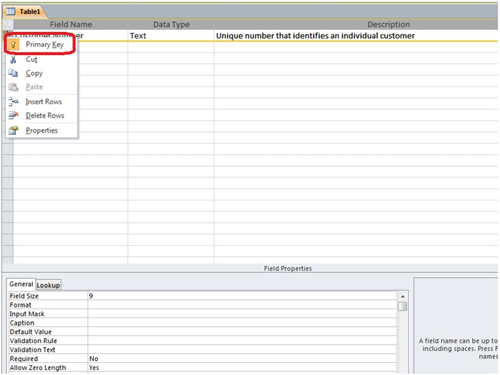
- If it is planned for this table to have a relationship with any other table in the database, a Primary Key is required. The Primary Key is a unique value in the table that cannot have a duplicate entry in this field. To set a field as a Primary Key, right-click the field selector to the left of the field name, then select Primary Key from the drop-down list.
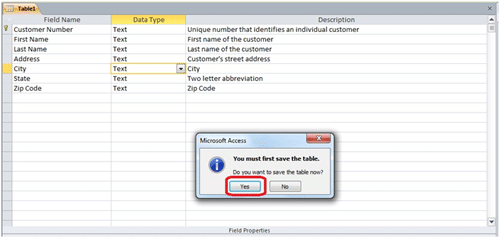
- Fill out as many fields as necessary. In this example, the data type for Zip Code is set to Text. The reason for this is so that the field size can be limited to five. Even though a zip code is a number, if it was set to Integer for the data type, the field size could not be limited. When done editing the table's design, click on the Datasheet View icon in the upper left corner of the window to begin entering data into the table.
- A prompt will appear that says the table will need to be saved first. Click Yes to save the table.
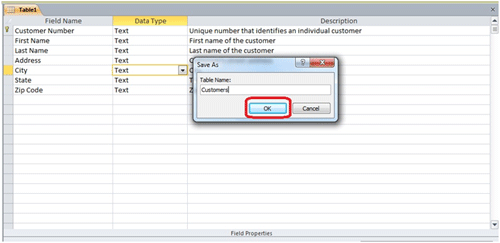
- Type the name for the table in the text box provided, then click OK.
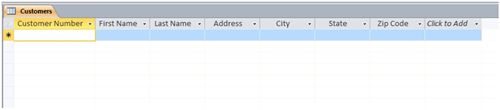
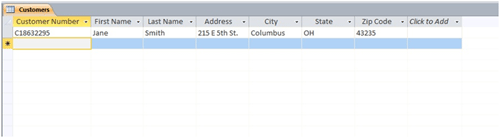
- The table is now ready to be populated with data.
- After entering data for each field, press the Tab key on the keyboard, or click in the next field to move on.


Technical Support Community
Free technical support is available for your desktops, laptops, printers, software usage and more, via our new community forum, where our tech support staff, or the Micro Center Community will be happy to answer your questions online.
Forums
Ask questions and get answers from our technical support team or our community.
PC Builds
Help in Choosing Parts
Troubleshooting