Breadcrumbs
How to configure WinBook Security CMS Software
Description: The following steps will cover connecting to a WinBook Security DVR with the CMS software.
- Once the CMS software is installed, click Start then click
All Programs.
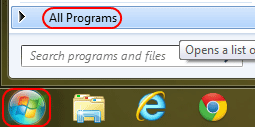
- Look for the CMS folder and select it, then select the
CMS program within it.

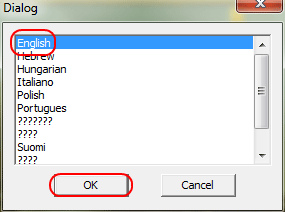
- If this is the first time opening it select English and then click
Ok.
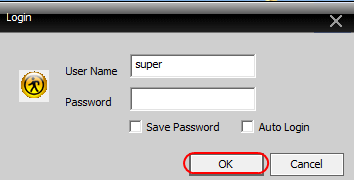
- Sign into the login page. The default username is super and the password should be blank by default.
- Click Ok at the prompt stating the device list is empty.

- In the bottom right of the window, click System.
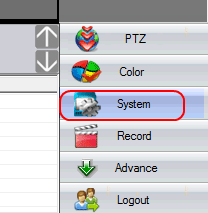
- Then click Device Manager above that.
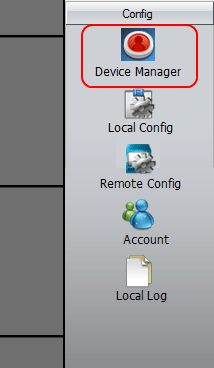
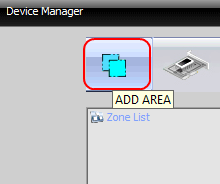
- When the device manager window comes up, click on the
Add Area icon.
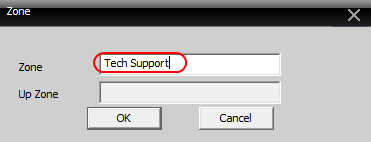
- Enter a name for the new area in the Zone box.
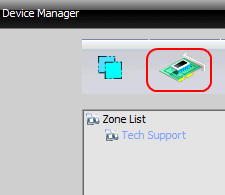
- Then select the New Zone from the zone list.

- Then click the Add Device icon.
- If it does not automatically find the WinBook DVR, click the
IP Search button.
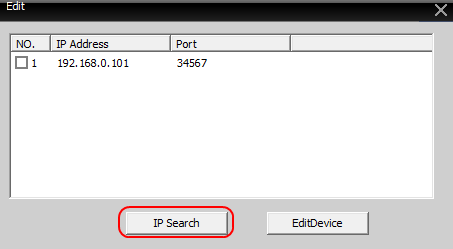
- The device will show in the window. Select it, then click
OK.
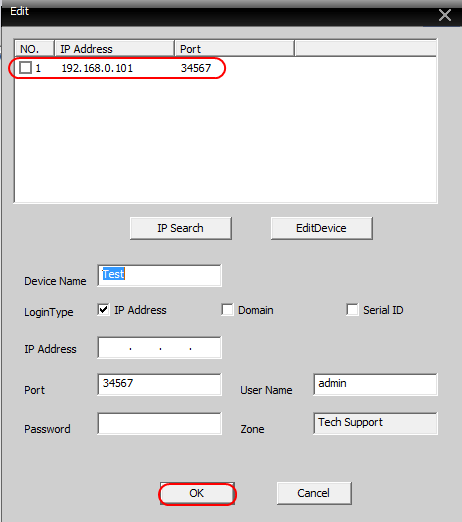
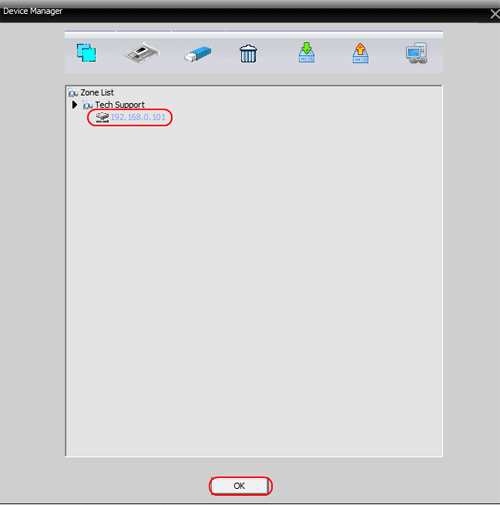
- Click Ok again to get back to the main screen.
- In the top left corner right click the IP Address of the device then click
Connect all video (Main Stream).
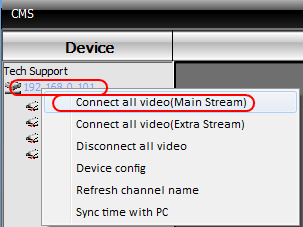
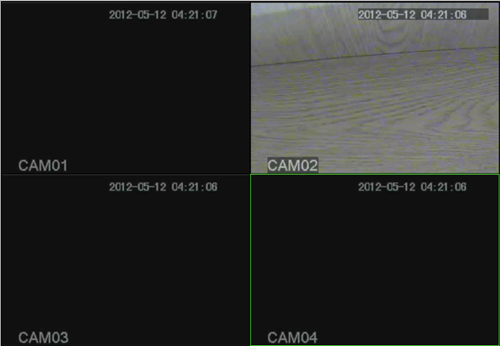
- The CMS software should now display the picture currently viewed by the DVR.
Technical Support Community
Free technical support is available for your desktops, laptops, printers, software usage and more, via our new community forum, where our tech support staff, or the Micro Center Community will be happy to answer your questions online.
Forums
Ask questions and get answers from our technical support team or our community.
PC Builds
Help in Choosing Parts
Troubleshooting
