
How to create a WinXP Virtual Machine with Hyper-V in Windows 8 Pro
Description: Windows XP Mode is not supported under Windows 8. Windows 8 Professional adds Hyper-V virtual machine support under Windows 8. Create a virtual machine and then install and activate your copy of Windows XP. A valid Windows XP product key and a copy of the Windows XP media are required for installation.
More information: Windows XP Mode uses a version of Microsoft Virtual PC as the virtual machine environment. While you can install Virtual PC 2007, the application will not run, but reports that the program has compatibility issues. (Using compatibility mode for XP or Windows 7 emulation will still fail to provide the necessary support to let the program run under Windows 8.)
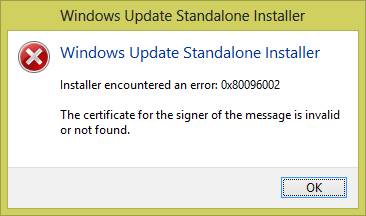
Attempting to install the Virtual PC portion of XP Mode (Win7_VPC-x64.msu or Win7_VPC-x86.msu) will report an installer error under Windows 8.
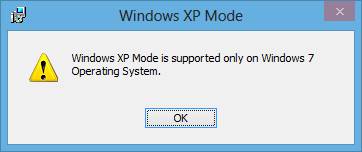
If you run the XP Mode setup (WindowsXPMode_en-us.exe) Windows 8 will report that Windows XP Mode is not supported.
Installing Hyper-V and creating a virtual machine
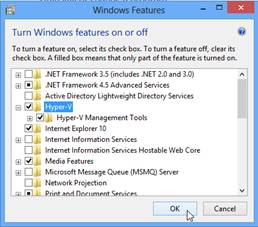
- Install Hyper-V. In the Windows Control Panel, open Programs and Features, click on the task Turn Windows features on or off and add a checkmark to the Hyper-V selection - click OK. Close the window when finished.
- Launch the Hyper-V Manager when ready.
- In the Hyper-V Manager, select New, Virtual Machine from the Action menu. This will start the New Virtual Machine Wizard.
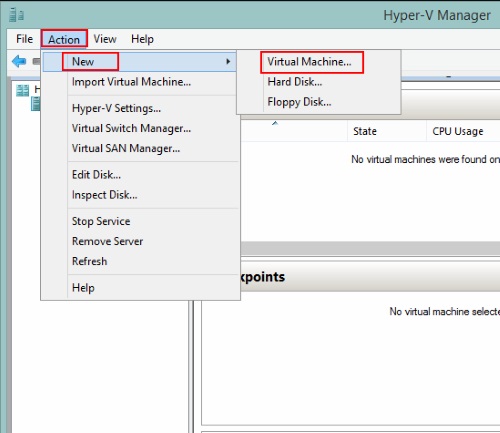
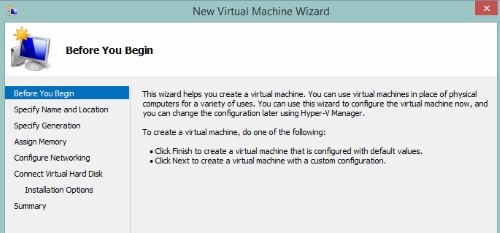
To create a virtual machine with default values (that you can change later, as needed), click Finish.
To create a virtual machine manually, click Next.
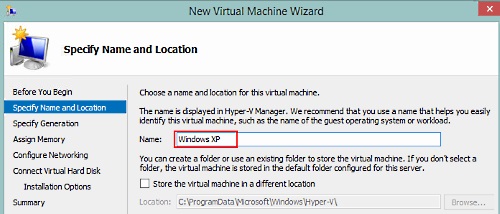
- Specify Name and Location.
- Enter a name for the virtual machine such as Windows XP and click next
- To create the virtual machine in some location other than the default one, add a check mark and specify your preferred location.
- The default path for virtual machines is: \ProgramData\Microsoft\Windows\Hyper-V
- The default path for the hard drive image file is: \Users\Public\Documents\Hyper-V\Virtual hard disks
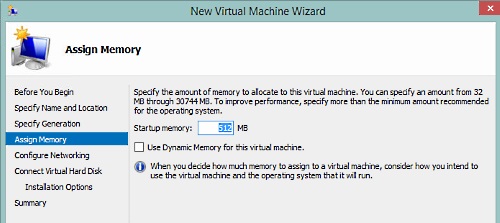
- Assign Memory
- Enter the RAM that will be available to XP. 1GB or more is recommended for best performance.
- Specify the amount of RAM you want to reserve for the virtual machine. This memory will not be available in Windows 8 while the virtual machine is running.
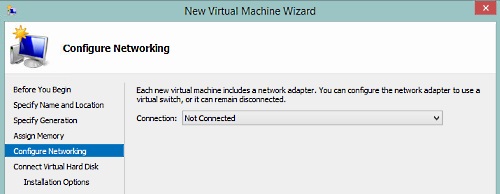
- Configure Networking
- You can specify how the network connections will be used by the virtual machine. You can configure this later, so may want to leave this at not connected. Click Next.
- Selecting a virtual switch adds a virtual switch device to your network devices, and then bridges between the physical network adapter and the virtual network adapter.
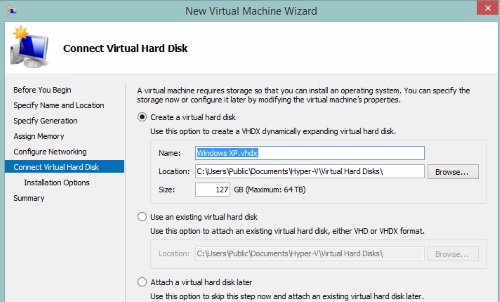
- Connect Virtual Hard Disk
- The default is to create a dynamic virtual hard disk (it expands as needed to the maximum size). Enter a size for the new disk (cannot be larger than the available drive space.) and click Next.
- Other options include using an existing virtual hard disk image (.vhdx)
- You can choose to leave the virtual hard disk selection until later. You will not be able to start the machine or install an OS until an existing virtual disk has been specified.
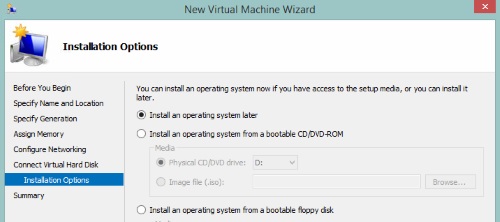
- Installation Options
- Install an operating system later - or-
- Install an operating system from a boot CD/DVD-ROM - this selection also allows you to specify an ISO image file instead of a physical optical disk drive connected to the system.
- You can choose to install from a floppy disk or virtual floppy disk image file.
- If you specified a network adapter in step 6, you can choose to install the operating system across a network.
In these screenshots, this was selected, and the browse button was used to locate the Windows XP Professional SP3 ISO file on the hard drive.
- Completing he New Virtual Machine Wizard
- To complete the virtual machine setup and close the wizard, click Finish.
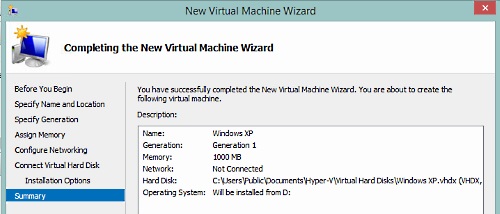
- Start the virtual machine to begin Installation of Windows XP.
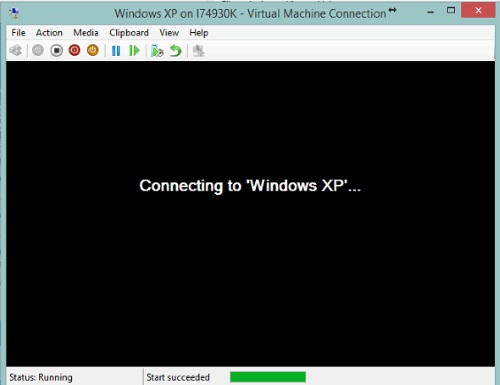
- Right click on the virtual machine and select Start. This will open a virtual machine connection window.
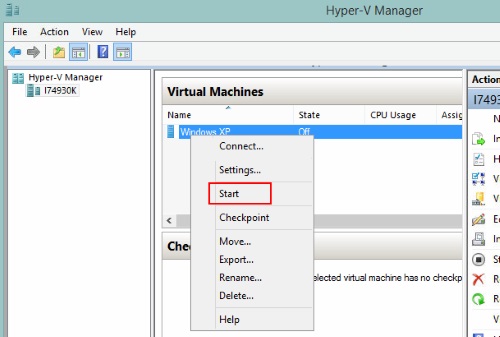
- The connection window is similar to a Remote Desktop view. It does not need to be open for the virtual machine to be running and executing programs. If you configure shared networking and turn on Remote Access in the virtual machine, you can also use Remote Desktop from the Start Screen or from the Desktop to access a running.
- Right click on the virtual machine and select Start. This will open a virtual machine connection window.
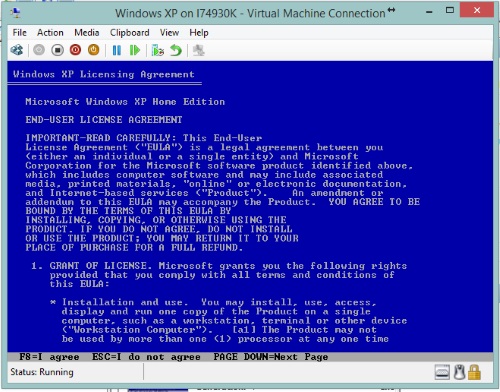
Installation of Windows XP
- You must agree to the Windows XP EULA to install. Scroll down to read and Press F8 to agree.
- Only one virtual hard drive was attached, it should appear as your only target disk to install to, press Enter.
- The virtual drive is just a file on your existing hard drive.
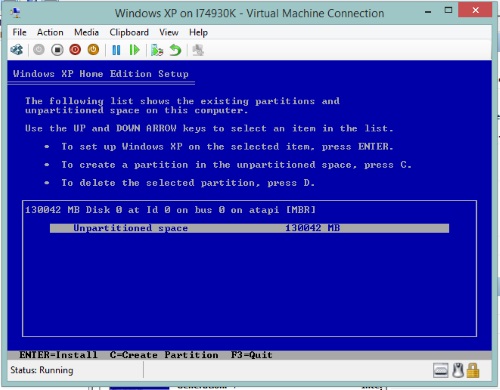
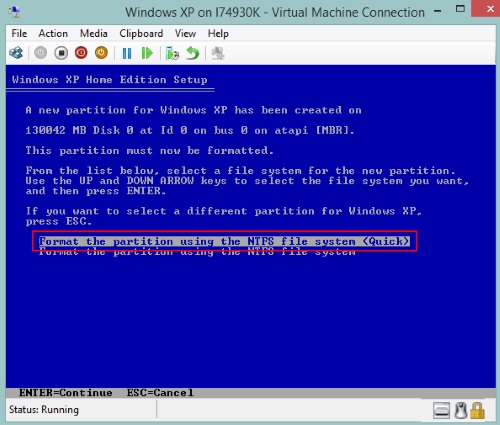
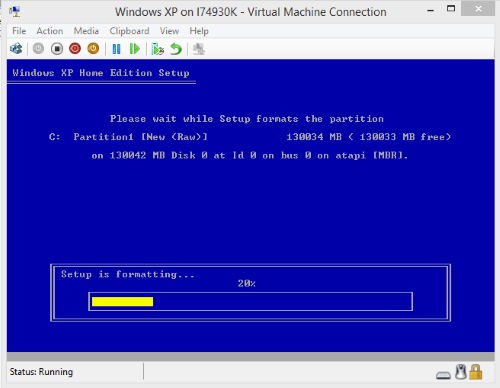
- Choose the Quick Format option and press Enter.
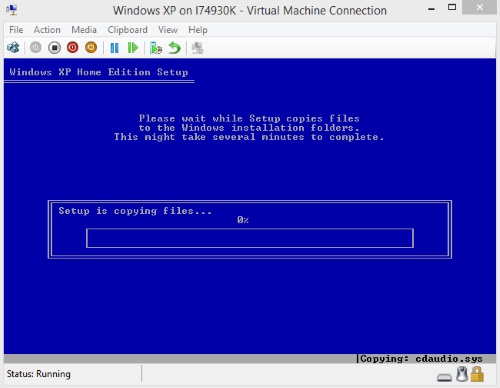
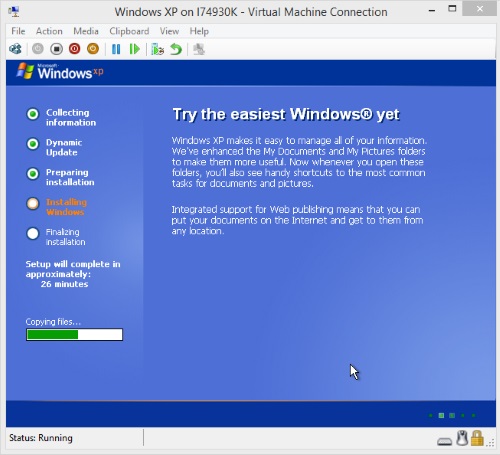
- Wait for it to copy the Windows files over.
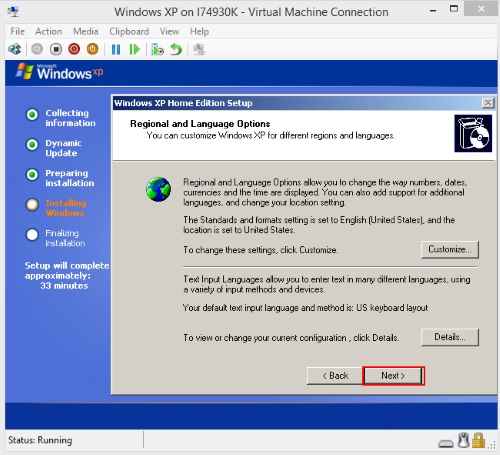
- After a restart, Windows setup continues.
- Make any changes to the language options (if available) and click Next.
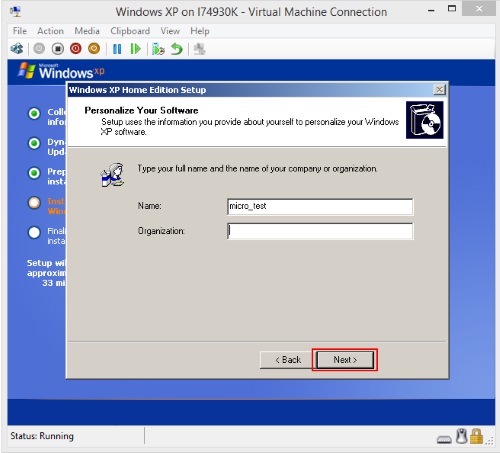
- Enter a default User Name and Company Name to use. Click Next.
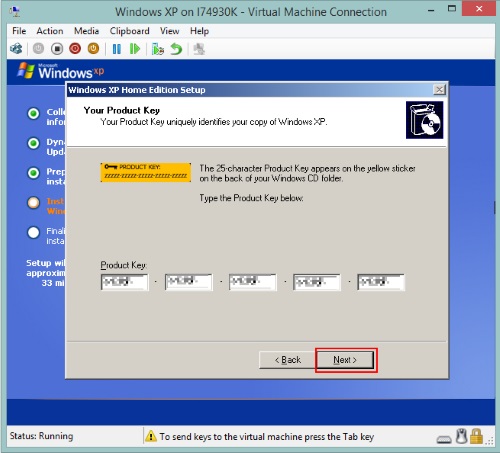
- Enter your Windows XP Product Key (required). Click Next.
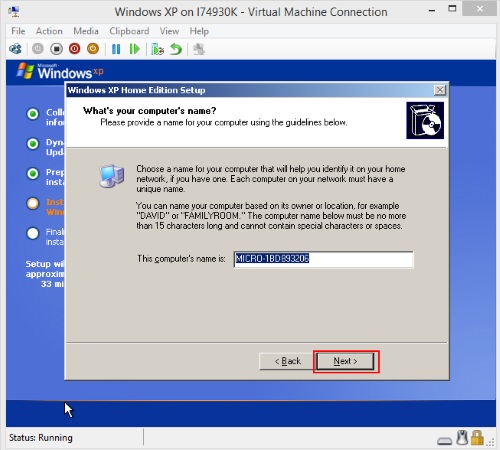
- You can change the name of the computer and enter an Administrator password. Click Next.
- Set your system date, time and time zone. Click Next.

- Wait for Windows to finish setting up.
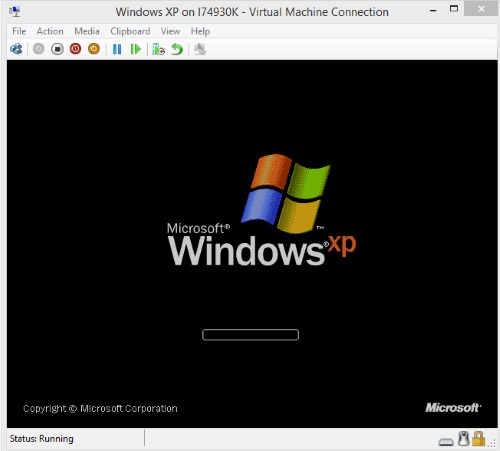
- After a restart, you will see the familiar startup screen. Log in using the Administrator name and password you created earlier.
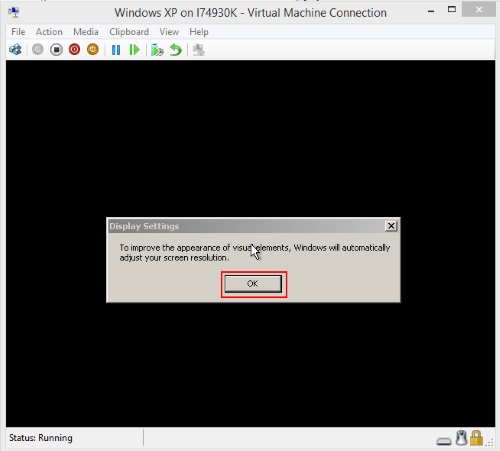
- Windows will want to change the screen resolution to something higher than 640x480.
- Log in as Administrator
- Install an AntiVirus!

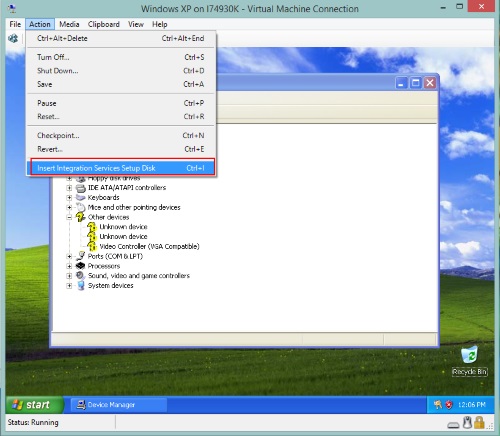
- A look in Device Manager shows three unknown "Other devices" that Windows XP has no built-in support for.
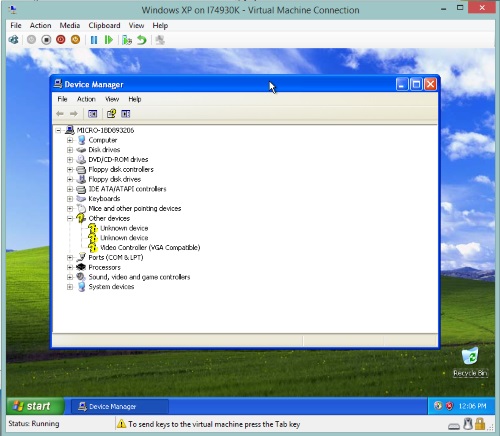
- From the Action Menu, select "Insert Integration Services Setup Disk" This attaches an ISO file to the virtual optical disk and launches the driver setup.
- All unknown Other Devices have been identified.
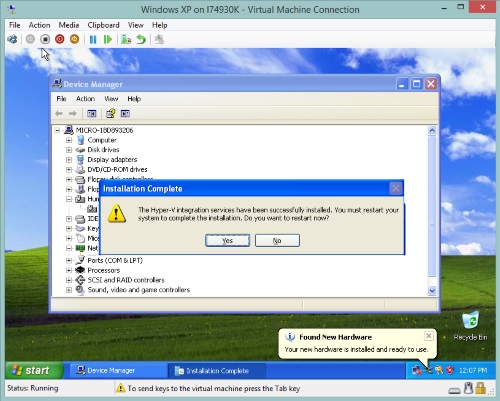
- After the Hyper-V device drivers have been installed, XP needs to restart, and then you will be ready to use the Virtual Windows XP that you just setup.
Technical Support Community
Free technical support is available for your desktops, laptops, printers, software usage and more, via our new community forum, where our tech support staff, or the Micro Center Community will be happy to answer your questions online.
Forums
Ask questions and get answers from our technical support team or our community.
PC Builds
Help in Choosing Parts
Troubleshooting