
How to add a Wireless Printer in OS X Mountain Lion
Description: This tutorial will show you how to add a wireless printer to your Apple computer in the OS X Mountain Lion operating system. This is a general guide to how to set up a printer and will often times require a CD that came with the printer to start/finish the installation.
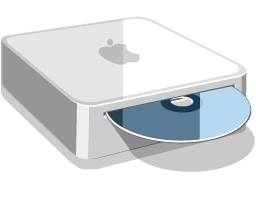
- Put the disc that came with the printer into your computer.
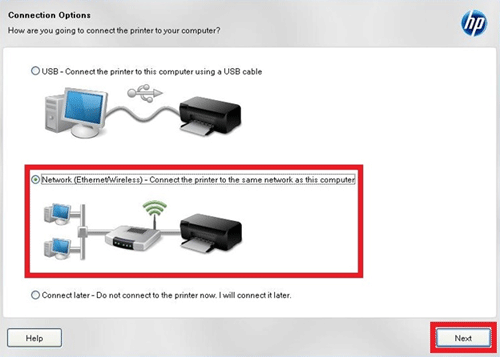
- Run through the set up. When it comes to the point where it asks about connection options, make sure to choose the option that says Network (Ethernet/Wireless) - Connect the printer to the same network as this computer.
- The easiest way to get your printer connected to your wireless network is to hook it up to a computer that is on the wireless network already. After choosing the above option you should have an option on whether you want to type the wireless information in manually or if you want to let the computer do it. If you choose that you want the computer to do it, you will now need to plug the printer into the computer using a USB cord. Continue on with the installation.
- After the installation is done, the printer will be on the network. You can now unplug the USB cord from the printer and it is ready for use!

Technical Support Community
Free technical support is available for your desktops, laptops, printers, software usage and more, via our new community forum, where our tech support staff, or the Micro Center Community will be happy to answer your questions online.
Forums
Ask questions and get answers from our technical support team or our community.
PC Builds
Help in Choosing Parts
Troubleshooting