
How to create a Virtual Hard Drive (VHD) on a WinBook Tablet
Description: Windows 8 and 8.1 both fully support the creation and mounting of virtual hard drives. Virtual hard drives allow you to assign space to move files to and from them and even install an entire operating system on it as if it were a real hard drive. This article will show you how to create a VHD in Windows 8.1.
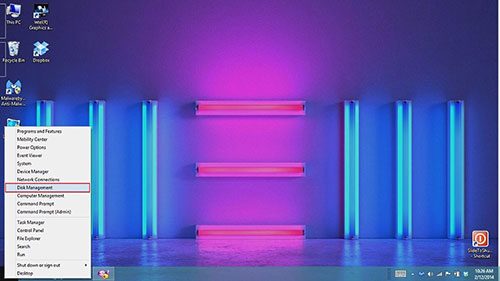
- On the desktop right click on the start button and select Disk Management from the menu
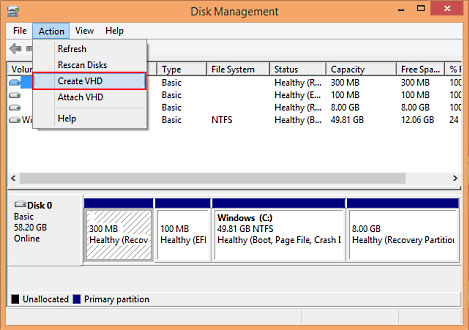
- Tap on Action from the menu and select Create VHD.
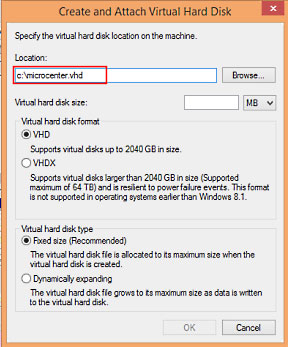
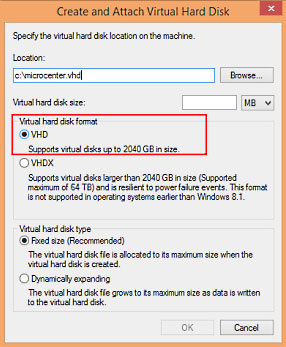
- From the Create and Attach Virtual Hard Disk box name the VHD (example xxxxx.vhd), and choose its location.
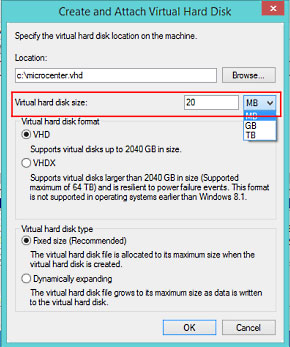
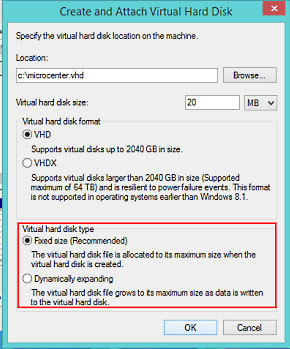
- Set the size of the VHD.
- Select the format of the VHD. While the VHDX supports larger drives you may run into compatibility issues if any operating systems earlier than Windows 8 tries to access the files.
- Select the Virtual Hard Drive type. A fixed drive acts like a physical hard drive and stays at the assigned size. A Dynamically expanding VHD as the name suggests will shrink and grow as files are added or deleted from it. It will not exceed the size assigned to it. Tap OK.
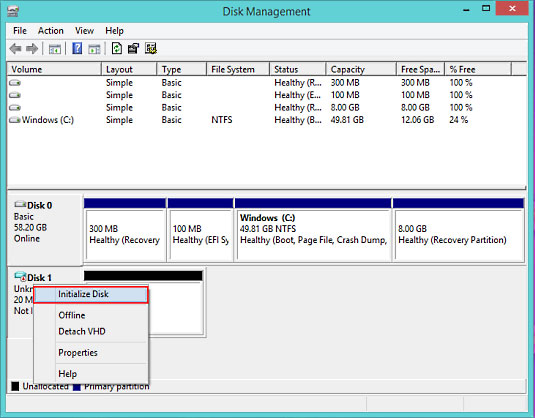
- The new drive is now displayed in the Disk Management window. It cannot be used until it is initialized. Right click the title section on the left and select Initialize Disk.
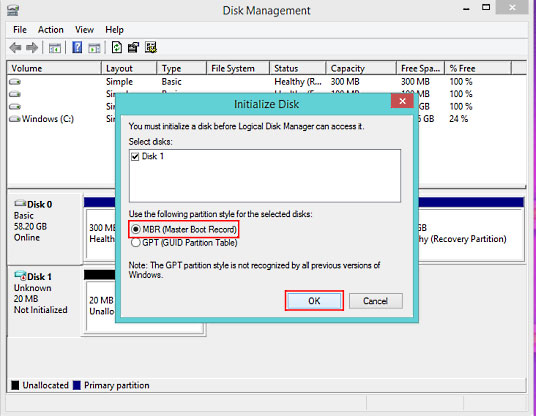
- Choose the partition style and tap OK to continue.
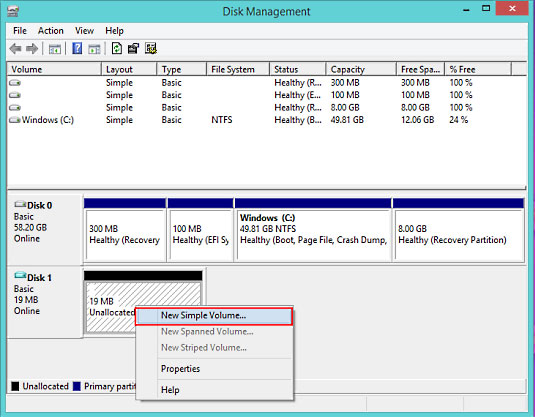
- Once initialization is complete, the disk will need to be assigned a drive letter and set up as a simple volume. Right click the drive area on the right and select New Simple Volume.
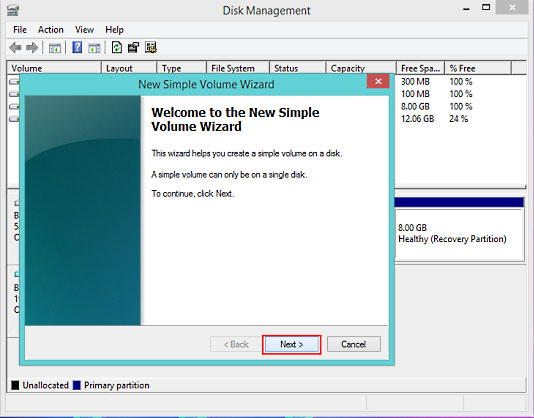
- This action will start the new simple volume wizard. Tap Next.
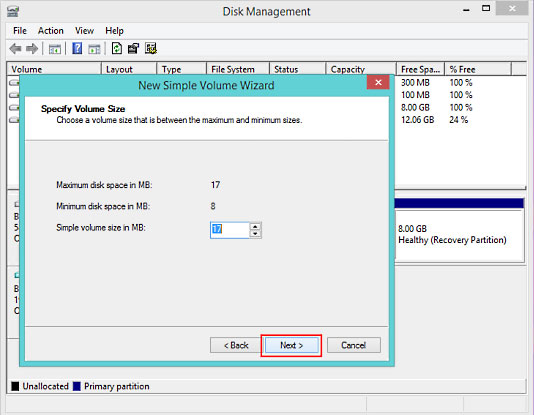
- By default the volume size is set to the size of the entire disk. If desired this can be changed here. Tap Next.
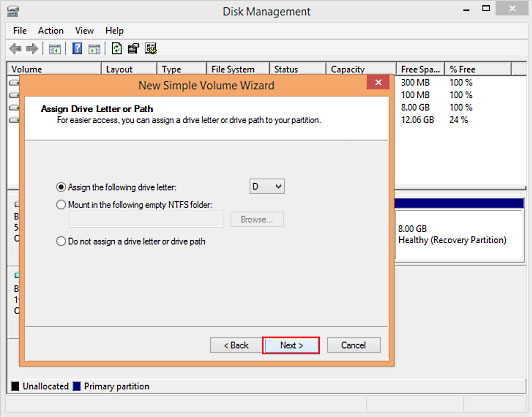
- On the next screen you may change the assigned drive letter if needed.
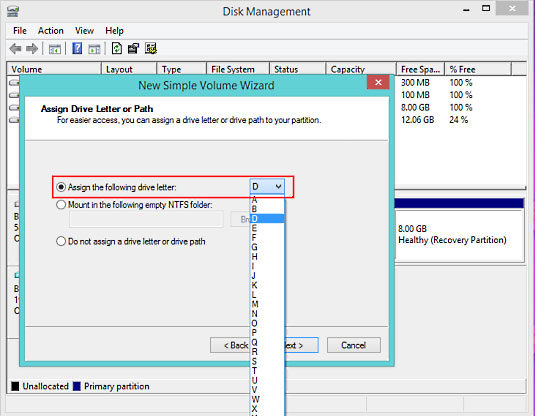
- Tap Next.
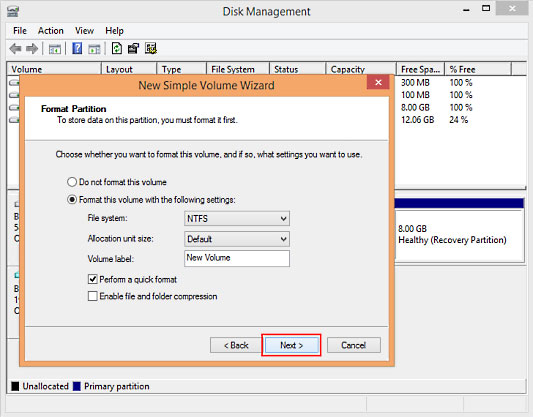
- Select the format type (default is fine unless you have a specific need). Tap Next.
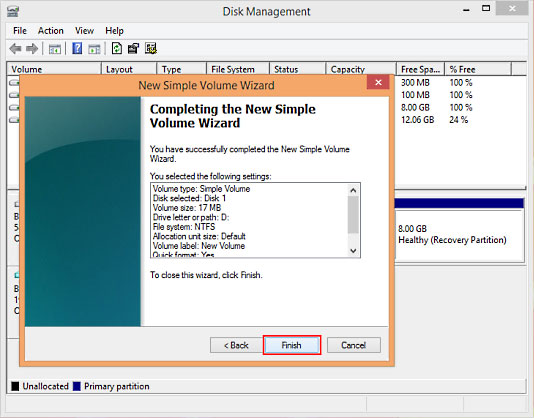
- Tap on Finish to complete the wizard.
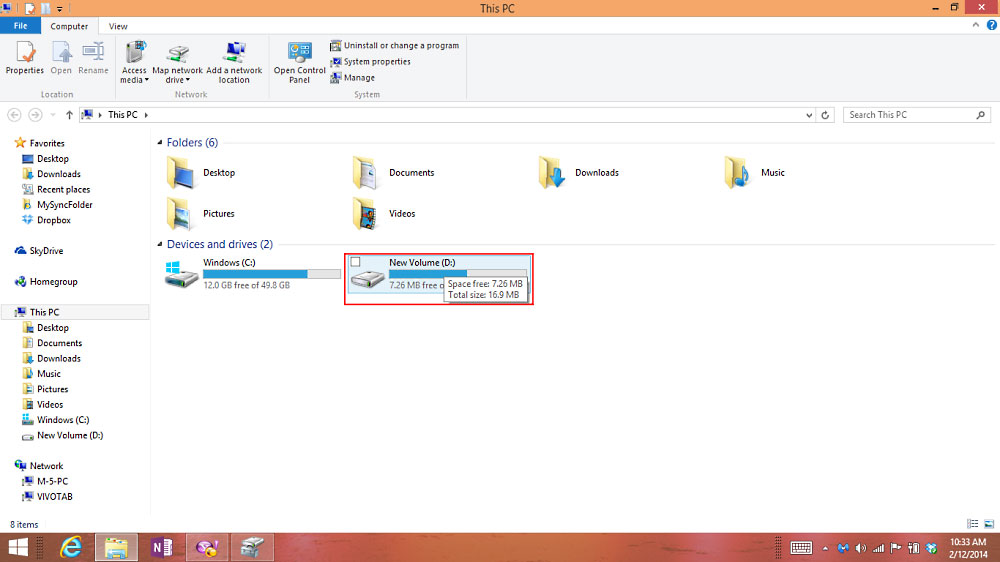
- Navigate to Devices and Drive to view the new volume just created.
Technical Support Community
Free technical support is available for your desktops, laptops, printers, software usage and more, via our new community forum, where our tech support staff, or the Micro Center Community will be happy to answer your questions online.
Forums
Ask questions and get answers from our technical support team or our community.
PC Builds
Help in Choosing Parts
Troubleshooting