
How to save space on Solid State Drives (SSDs) in Windows 7 - Part 6
Description: This is a technical article on the topic of saving space on Solid State Drives in Windows 7. Part Six covers moving Installed Programs. The purpose of this article series is to show how to save space on Solid State Drives, which are typically smaller than standard hard drives. In this article we will use a secondary hard drive, presumed to be larger than the solid state drive, as sort of a repository, so we may move files from the faster SSD drive to the bigger standard hard drive.
Installing Programs
Windows sets the default install path for programs to the same drive where Windows is installed. Some programs can be very large in size; these programs (most programs) can be installed to the data drive instead to save the space on the smaller SSD. This article will show you the process involved with installing programs to your data drive “D:\”. This configuration may differ per system, so make sure the drive letters are right with your system.
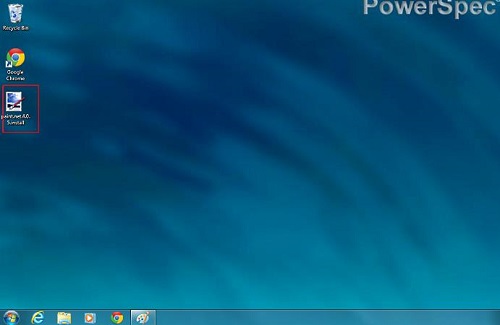
- Click on the program's installation icon - if you are loading from a disc auto play will come up to start the install.
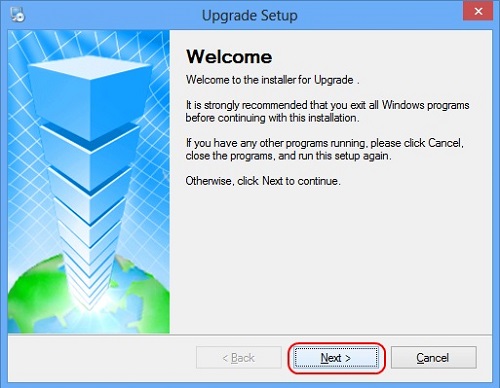
- Typically we would want to click on Next.
- To install a program on the secondary drive, watch the prompts during the install. Sometimes the program will show the installation path and will have a button to change the location. Other programs may hide the installation path in the Advanced or Custom installation options. Choose the Advanced or Custom option and watch for the opportunity to change the location.

- In the example above we would want to change the C to a D. Its best to keep everything else the same to keeps things organized and as similar as if we were installing them on C.
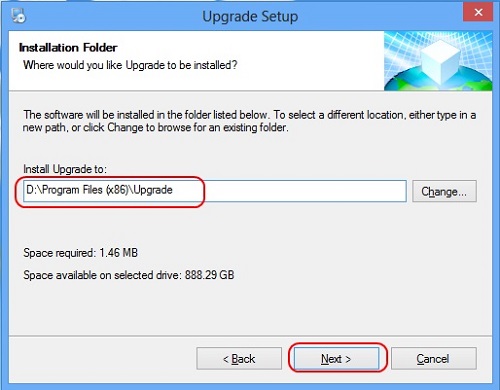
- Once we have changed the install directory to the desired drive letter click on Next to continue with the install
*IMPORTANT NOTE: Programs already installed to the C drive cannot just be moved to the secondary drive. These programs will need to be uninstalled and then reinstalled to the secondary drive.
This article is part 6 of a 6 part series.
Part 1 of this set, Paging File, can be found here.
Part 2 of this set, Disabling Hibernation, can be found here.
Part 3 of this set, System Restore, can be found here.
Part 4 of this set, Indexing Files, can be found here.
Part 5 of this set, User Directory Location, can be found here.
Technical Support Community
Free technical support is available for your desktops, laptops, printers, software usage and more, via our new community forum, where our tech support staff, or the Micro Center Community will be happy to answer your questions online.
Forums
Ask questions and get answers from our technical support team or our community.
PC Builds
Help in Choosing Parts
Troubleshooting