
How to change Parental Controls in ESET Smart Security Version 8
Description: This how-to article will show you how to set or change the parental controls within ESET Smart Security Version 8.
- Locate the ESET Smart Security icon near the time on your computer's task bar. Double click on the icon to open ESET Smart Security.
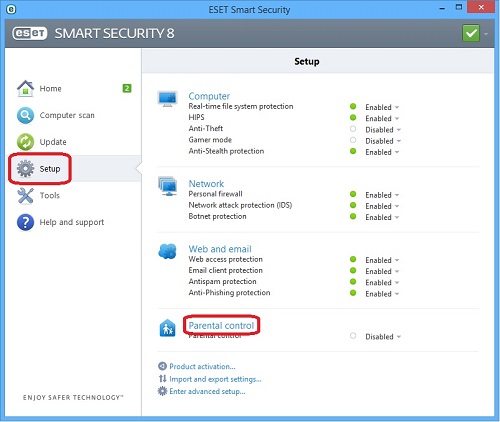
- Click Setup on the left panel and then click Parental Control on the right panel.
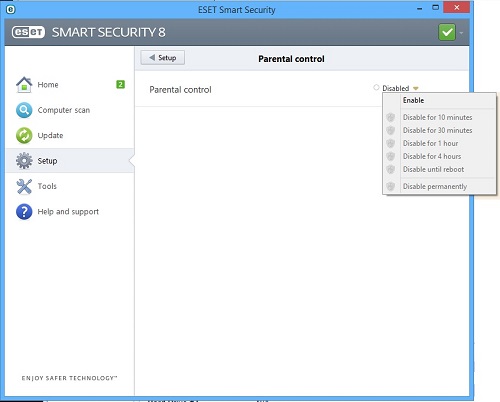
- Click on the down arrow near Disabled and choose Enable.
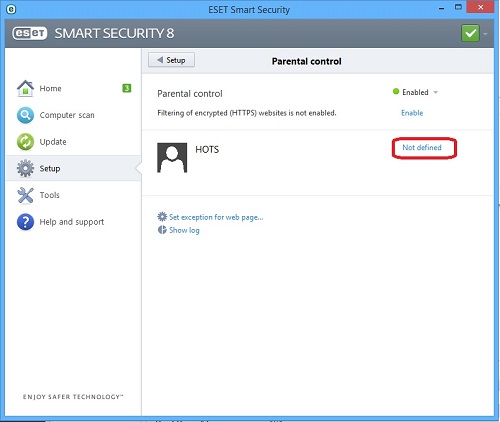
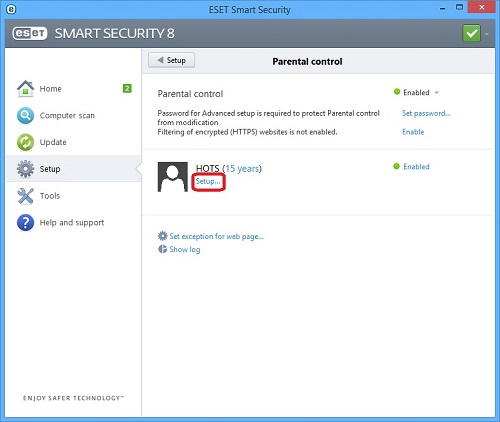
- Click on Setup for the account to be modified - for this example we will select the HOTS account - click on Not defined.
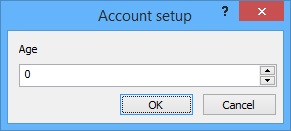
- Select the age of the person using this account and then click on OK.
- The altered settings will become effective the next time the guest logs in to Windows.
- Now the account for HOTS shows the age for the account - click on Setup for the account.
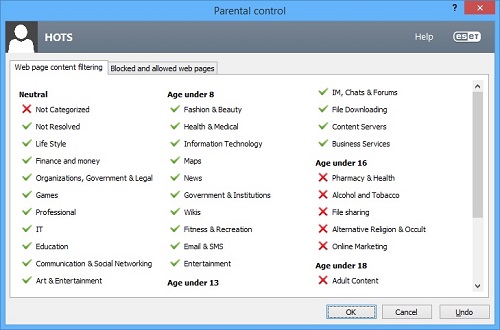
- Click on any of the categories that you wish to disable. This will turn the green check marks to red X marks. Click on OK to save and close the window.
Technical Support Community
Free technical support is available for your desktops, laptops, printers, software usage and more, via our new community forum, where our tech support staff, or the Micro Center Community will be happy to answer your questions online.
Forums
Ask questions and get answers from our technical support team or our community.
PC Builds
Help in Choosing Parts
Troubleshooting