
A Brief Overview of the Linksys RE2000 Range Extender
Description: This article will provide a brief overview of the Linksys RE2000 Wireless-N Range Extender.
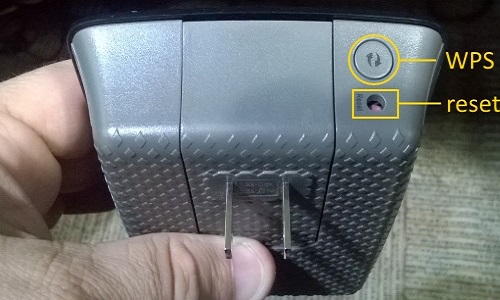
- The picture below illustrates the top of the range extender which features the following:
- WPS button or Wi-Fi Protected Setup: If you have other devices within your network such as printers you can easily add them to your network by pressing this button if supported.
- Reset: To reset your router to factory defaults you press and hold this button for about 5 seconds.
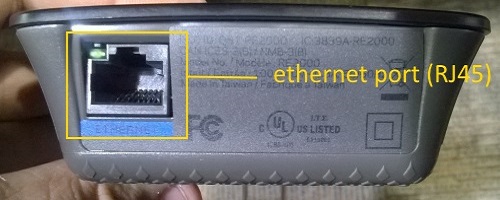
- Here is the bottom of the range extender where the Ethernet (RJ45) port is located.
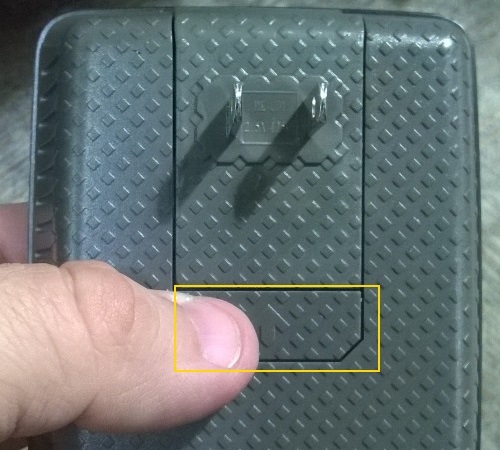
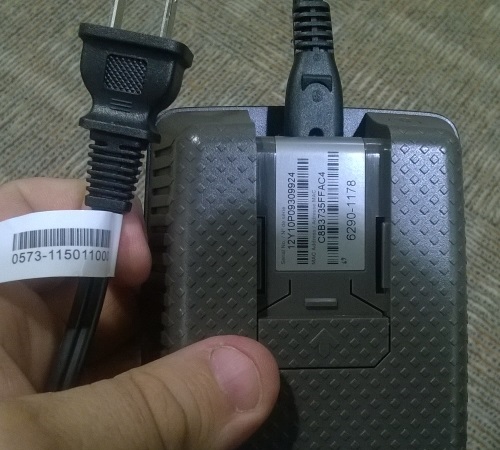
- The RE2000 can be used either by plugging it directly into an AC outlet OR you can remove the clip cover and use an AC cable to provide power. To change the power configuration follow these steps:
- Push on the raised button below the AC plug to release the latch.
- Slide the AC plug cover up and out of its cradle.
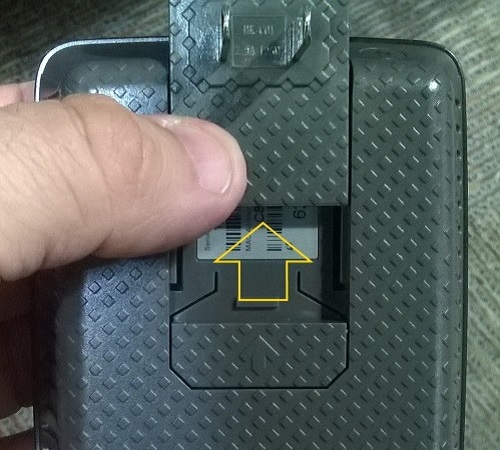
- The Power Connector is now exposed.
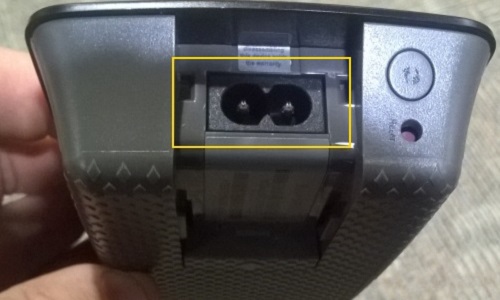
- Plug one end of the power cord here and the other to an AC wall outlet.
- Push on the raised button below the AC plug to release the latch.
Technical Support Community
Free technical support is available for your desktops, laptops, printers, software usage and more, via our new community forum, where our tech support staff, or the Micro Center Community will be happy to answer your questions online.
Forums
Ask questions and get answers from our technical support team or our community.
PC Builds
Help in Choosing Parts
Troubleshooting