
How to set up a Linksys RE2000 Wireless Range Extender
Description: This article will show how to set up the Linksys RE2000 Wireless-N Range Extender.
- Insert the Setup CD into a computer that is connected to the network router. You will need to be near the router or access point and have access to a networked computer. During the setup you will want the extender close to the computer and router. Once you are set up you can move it to wherever is desired.
- When the Setup routine starts click Next on the licensing terms.
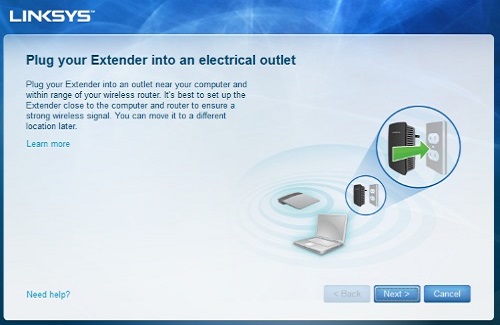
- Connect your extender to an AC power outlet.
- Your extender searches for wireless networks. The list of networks is displayed.
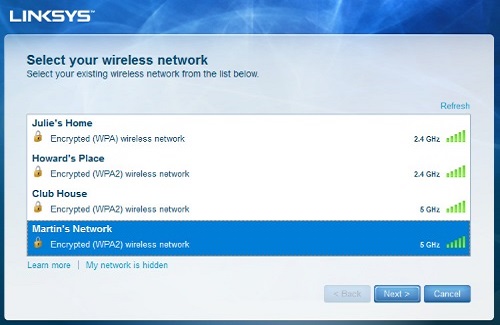
- Select your network and click Next. Enter your password.
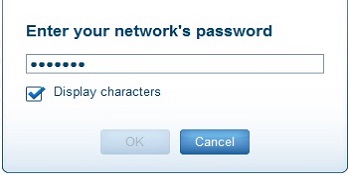
- Click OK.
- Click Next.
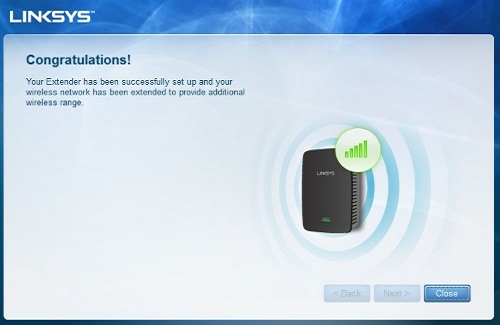
- Your extender is now set up. You will be prompted to move it to its final location.
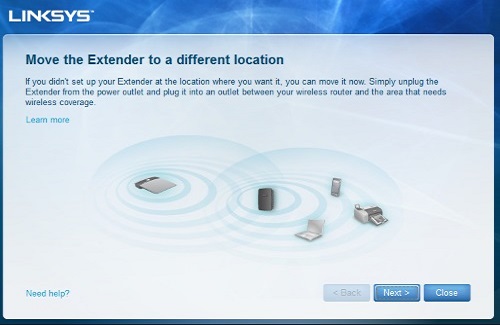
- For the best results position your extender where the signal from your router is strong (at least 60% signal strength).
- Once the extender has been moved to its final location, click on Next. The router will now test the wireless connection to the extender and will let you know if more adjustments need to be made.
Technical Support Community
Free technical support is available for your desktops, laptops, printers, software usage and more, via our new community forum, where our tech support staff, or the Micro Center Community will be happy to answer your questions online.
Forums
Ask questions and get answers from our technical support team or our community.
PC Builds
Help in Choosing Parts
Troubleshooting