
How to change AutoPlay Settings in Windows 10
Description: This article will show you how to change AutoPlay settings in Windows 10. This can be useful to set up automatic actions such as what the computer will when you insert a USB drive.
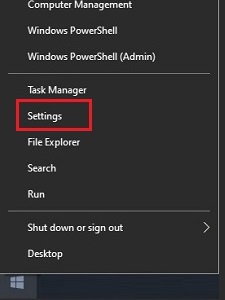
- Right click on the Start button then choose Settings.
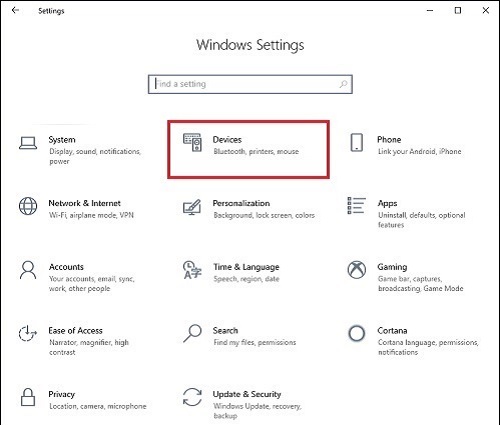
- In the Settings menu select Devices.
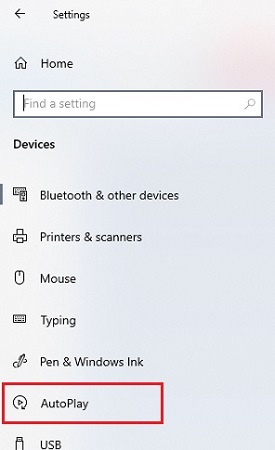
- Choose AutoPlay on the left of the Settings window.
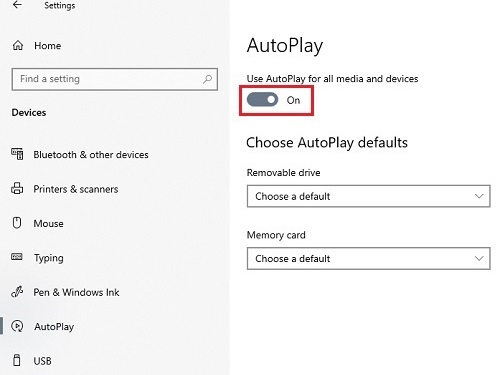
- Here, there will be a slider to turn AutoPlay on or off. Turning it Off means the computer will not automatically do anything when a device or disk is inserted. Leaving the option On will allow settings to be chosen for each type of media or device connected to the computer.
Technical Support Community
Free technical support is available for your desktops, laptops, printers, software usage and more, via our new community forum, where our tech support staff, or the Micro Center Community will be happy to answer your questions online.
Forums
Ask questions and get answers from our technical support team or our community.
PC Builds
Help in Choosing Parts
Troubleshooting