
How to install a Hard Drive into the PowerSpec NUC1
Description: The PowerSpec NUC1 is able to support one internal standard 2.5 inch SATA notebook hard drive or solid state drive. This article will show the process of installing a hard drive into the PowerSpec NUC1.
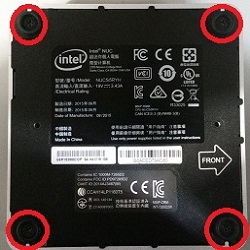
- Turn the NUC1 upside down so that the four screws are facing upwards.
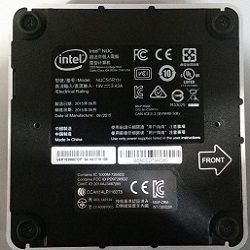
- Begin loosening each screw using a Philips screw driver.

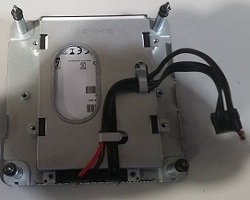
- Once the screws are all loose, they will not come out due to being held in place with retainers. Carefully remove the bottom of the NUC1 and locate the hard drive mounting bracket.
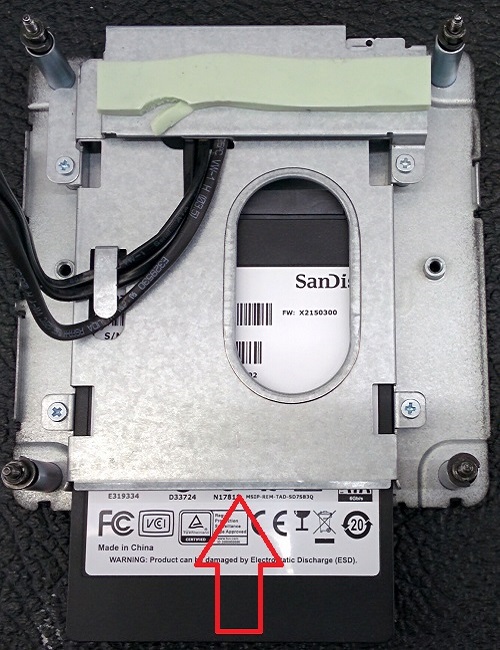
- Align the hard drive to the bracket with the gold contacts facing down and then slide the hard drive toward the SATA connector, pushing gently until the drive is fully connected.
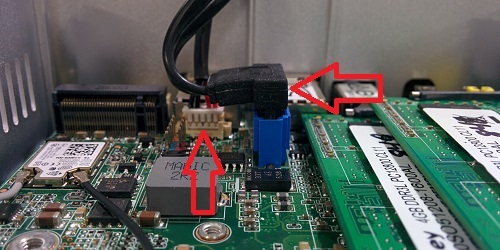
- Ensure the SATA power and data cables are connected into the motherboard.
- Place the bottom of the NUC1 on top of the case, and then tighten the four screws on the bottom of the case. The drive installation has now been completed.
Technical Support Community
Free technical support is available for your desktops, laptops, printers, software usage and more, via our new community forum, where our tech support staff, or the Micro Center Community will be happy to answer your questions online.
Forums
Ask questions and get answers from our technical support team or our community.
PC Builds
Help in Choosing Parts
Troubleshooting