
How to enable Metered Wi-Fi in Windows 10
Description: This article will show how to enable a metered Wi-Fi connection in Windows 10, which will limit data usage.
- Select the Start button at the lower left corner of the screen, then choose Settings.
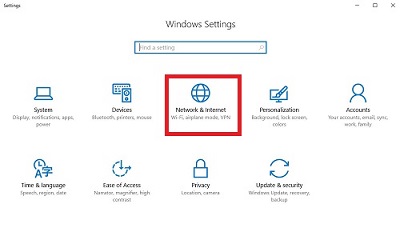
- Select Network & Internet.
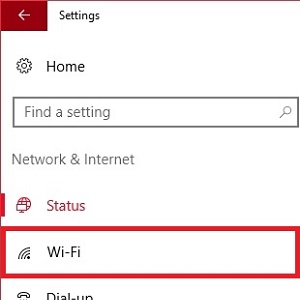
- Select Wi-Fi.
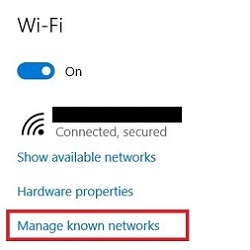
- Scroll down and choose Manage known networks.
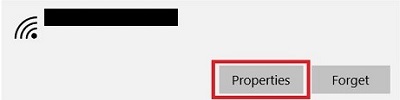
- Select the name of the network from the list and choose Properties.
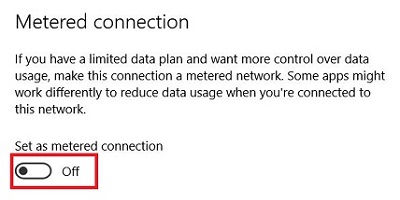
- Toggle the slider for Set as metered connection to On.
Technical Support Community
Free technical support is available for your desktops, laptops, printers, software usage and more, via our new community forum, where our tech support staff, or the Micro Center Community will be happy to answer your questions online.
Forums
Ask questions and get answers from our technical support team or our community.
PC Builds
Help in Choosing Parts
Troubleshooting