
How to rename a Local Account in Windows 10
Description: This article will show how to rename another local account in Windows 10 as the computer administrator.
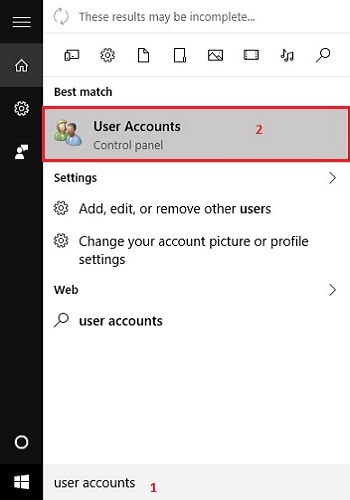
- In the search box typically found next to the start button at the lower left corner of the screen, type in User Accounts. Next click on User Accounts in the search results.
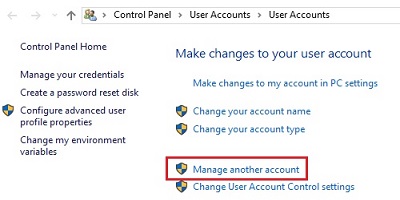
- Click on Manage another account, found under Make changes to your user account.
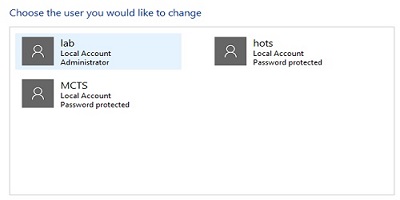
- Select the user account to be changed.
- Click on Change the account name once the account has been selected.
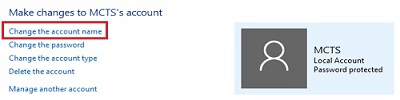
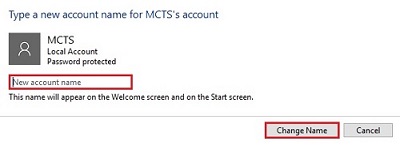
- Type a new username for the account, then click on Change Name to confirm. The username for the local account will then update.
Technical Support Community
Free technical support is available for your desktops, laptops, printers, software usage and more, via our new community forum, where our tech support staff, or the Micro Center Community will be happy to answer your questions online.
Forums
Ask questions and get answers from our technical support team or our community.
PC Builds
Help in Choosing Parts
Troubleshooting