
How to start a Restore with Windows Backup and Restore in Windows 10
Description: This article will show how to start a restore with Windows Backup and Restore (Windows 7) in Windows 10. This can be done after a file backup has been created with the same backup program.
- Right click on the Start button then click on Control Panel.
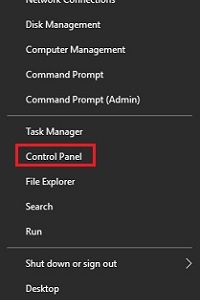
- Click on Backup and Restore (Windows 7).
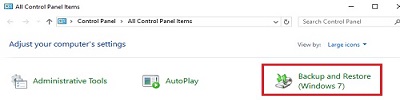
- Under Restore, click on Restore my files.
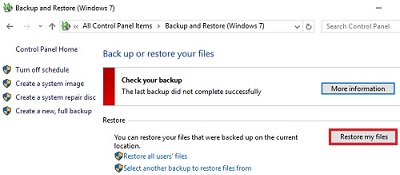
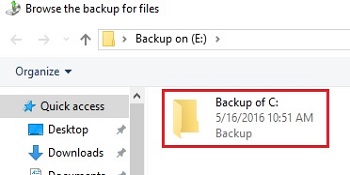
- On the Browse or search your backup for files and folders to restore, select either Search, browse for files or browse for folders.
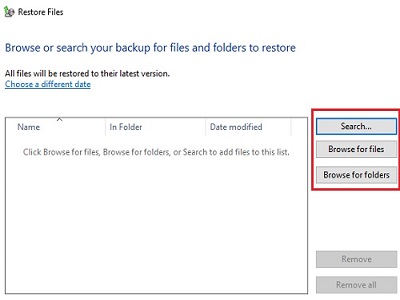
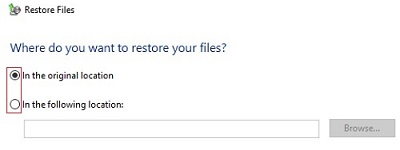
- Locate the files to be restored from the backup, then on the Where do you want to restore your files screen, select either the original location or a different location on the computer.
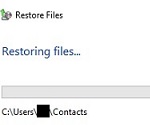
- Once the restore is started, it will show Restoring files. Once completed, it will show Your files have been restored, and then click on View restored files to view a list of what has been restored.

Technical Support Community
Free technical support is available for your desktops, laptops, printers, software usage and more, via our new community forum, where our tech support staff, or the Micro Center Community will be happy to answer your questions online.
Forums
Ask questions and get answers from our technical support team or our community.
PC Builds
Help in Choosing Parts
Troubleshooting