
How to create a System Image Backup in Windows Server 2012 R2
Description: This article will show the process of creating a daily system image in Windows Server 2012 R2.
- In the bottom right hand corner of the screen, click on the Start icon.
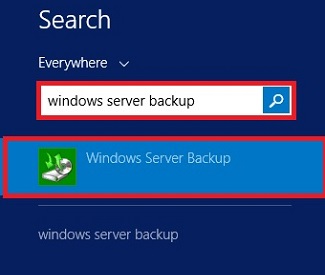
- From the start screen, type in Windows Server Backup. There is no bar to type into, just start typing. It will automatically type into the search bar. Click on Windows Server Backup on the right side.
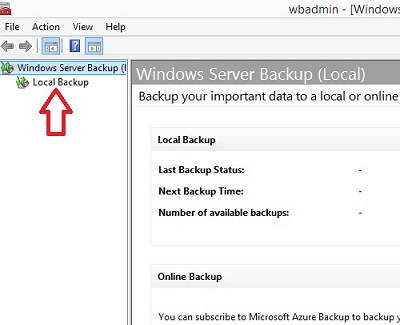
- This will open the Windows Server Backup window. On the left hand side, click on Local Backup.
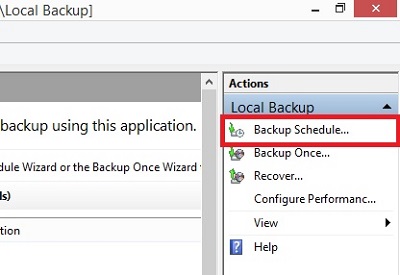
- A screen with scheduled backups will appear. It should be blank. On the right hand side, click on Backup Schedule.
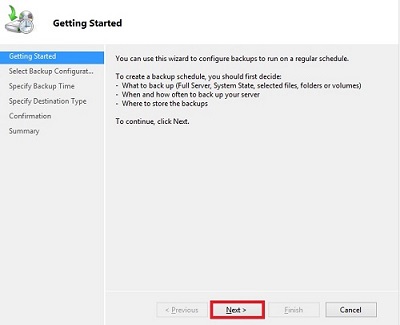
- This will open the Backup Wizard. At the bottom of the window, click Next.
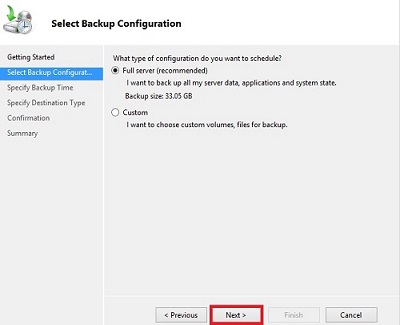
- On the next screen, it will ask how the backup needs to be done. It is recommended to do a Full Server backup. Click Next to continue.
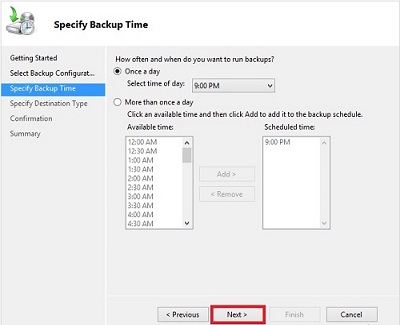
- This will bring up the options on what times to do the backups. In this example, it is set to backup only once a day. Select the time and then click Next.
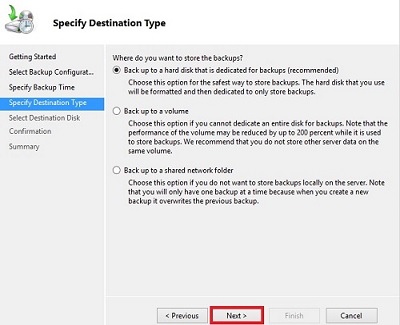
- Next, choose a location to save the backups to. In this example the backup is saved to an external drive. This is what is recommended. Click Next to continue.
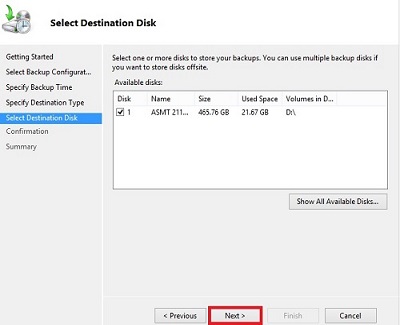
- On the next screen, select the actual drive location that the backup is to be saved to. Once that is selected, click Next.
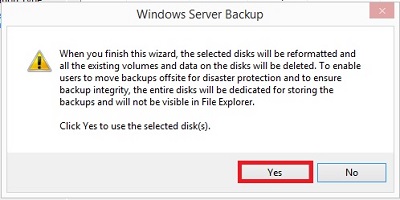
- This will bring up an alert window saying that this will format the hard drive, erasing all data on the drive. Click Yes to continue.
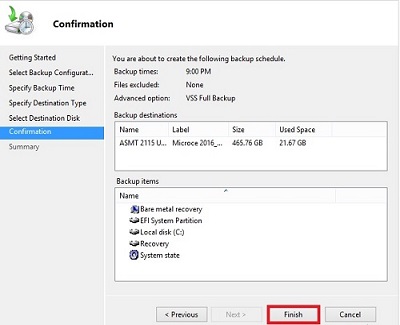
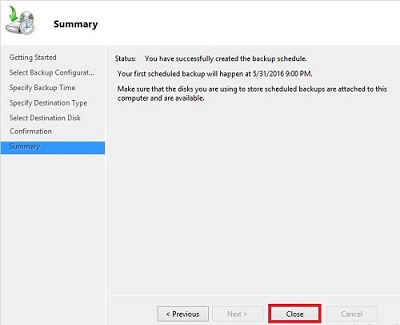
- This will bring up the confirmation screen. If everything is correct, click Finish.
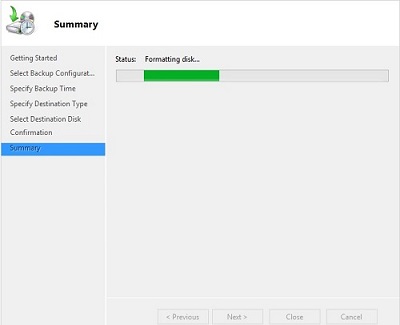
- The hard drive will start formatting. This can take 5-10 minutes.
- Afterwards, a completion screen will appear. Select Close.
- Once that screen closes, it will go back to the Windows Server Backup window. This will show the last backup that was done as well as the time for the next backup.
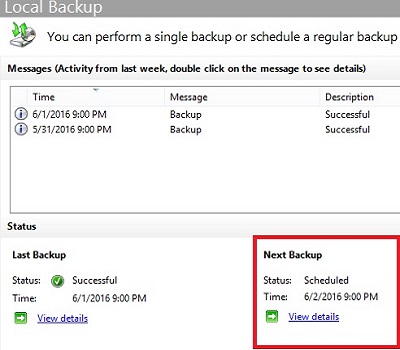
- Congratulations, the server is now set up to run Windows Backups on a daily schedule.
Technical Support Community
Free technical support is available for your desktops, laptops, printers, software usage and more, via our new community forum, where our tech support staff, or the Micro Center Community will be happy to answer your questions online.
Forums
Ask questions and get answers from our technical support team or our community.
PC Builds
Help in Choosing Parts
Troubleshooting