How to Create High-Heat Nylon Prints
Nylon creates stronger, more versatile prints.Maker Projects
PLA is our go-to 3D printing material because t’s inexpensive and easy to print with. However, it has limitations that can pose problems for some functional prints. Its low glass transition temperature and relatively low strength prevent it from being used in certain situations, like for outdoor prints or high-heat environments. Other materials, like PETG, improve on PLA’s physical characteristics while maintaining the ease of printing. In some cases, though, it’s still not enough. That’s where specialty filaments, like glass or carbon-fiber-filled nylon, come in. These filaments offer superior physical characteristics, but at the expense of ease of printing.
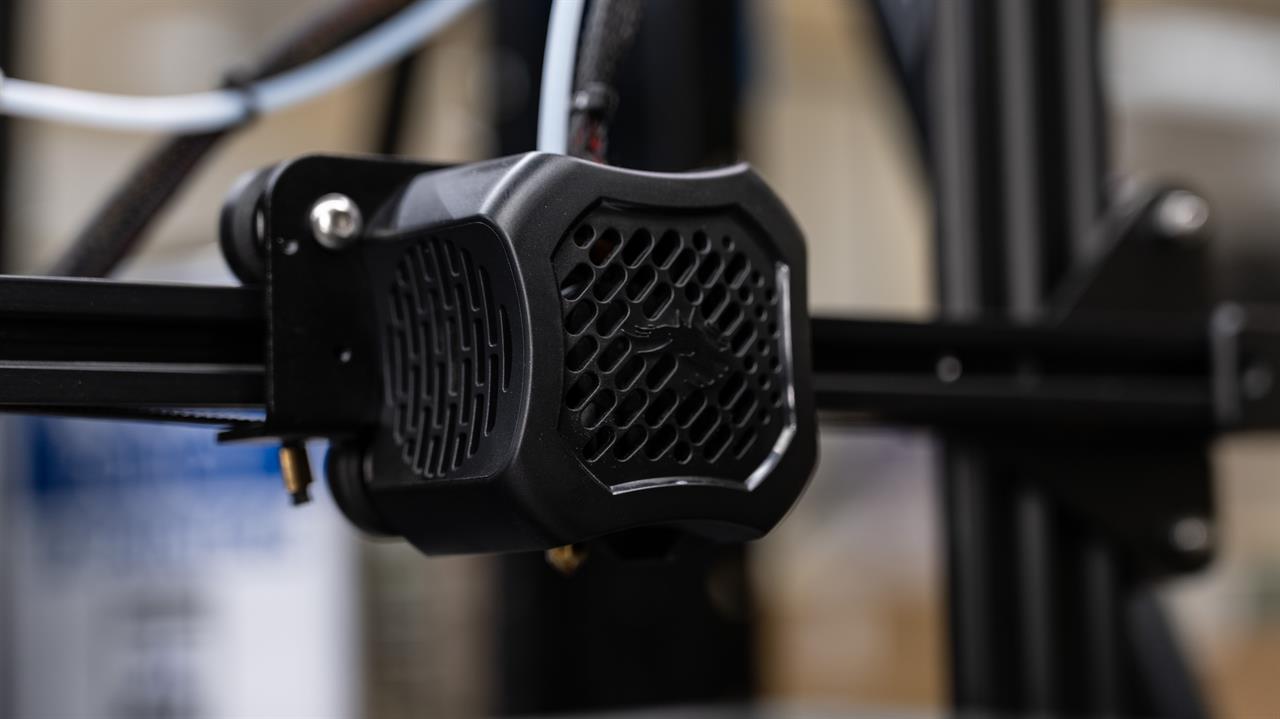 Photo: Jacob Bobo
 Printing with Nylon: hotend requirements and limitations
There are three main concerns with printing nylon and similar filaments. Starting off is the hotend, the part of the 3D printer that heats and extrudes the material. Nylon prints at far higher temperatures – 240°C or higher – than traditional filament, so we’ll need to replace the stock hotend with an all-metal one.
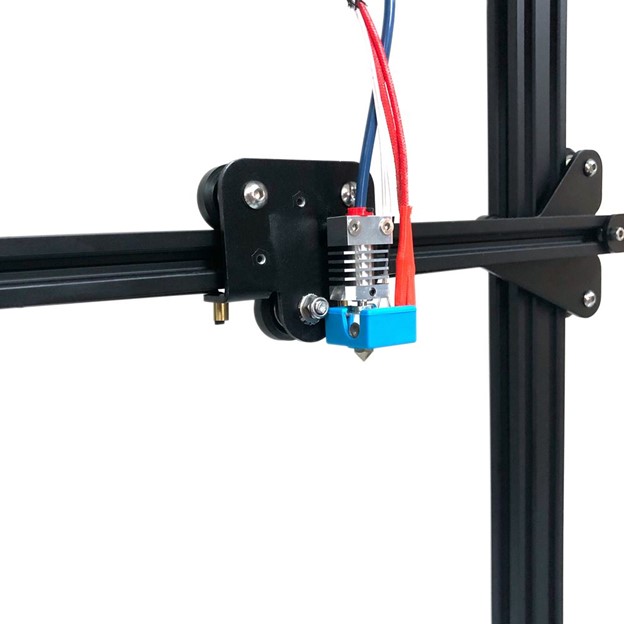
Hotends for 3D printers are fairly simple systems, but there’s a couple of important considerations when designing them. One major consideration is heat creep. Heat creep occurs when heat from the heating element makes its way up the body of the hotend. This can melt the filament prematurely, leading to clogs. To combat this, hotends are designed with a “hot zone” and “cold zone.” It’s important to ensure the cold zone doesn’t get hot enough to melt the filament. Many printers, including the Ender 3, achieve this by using a PTFE liner to insulate the filament until it reaches the nozzle. This design is simple, inexpensive to manufacture, and very effective. It’s a great fit for most situations but becomes a problem with filaments that are printed at or above 240°C. At this temperature PTFE starts to break down, releasing toxic fumes.
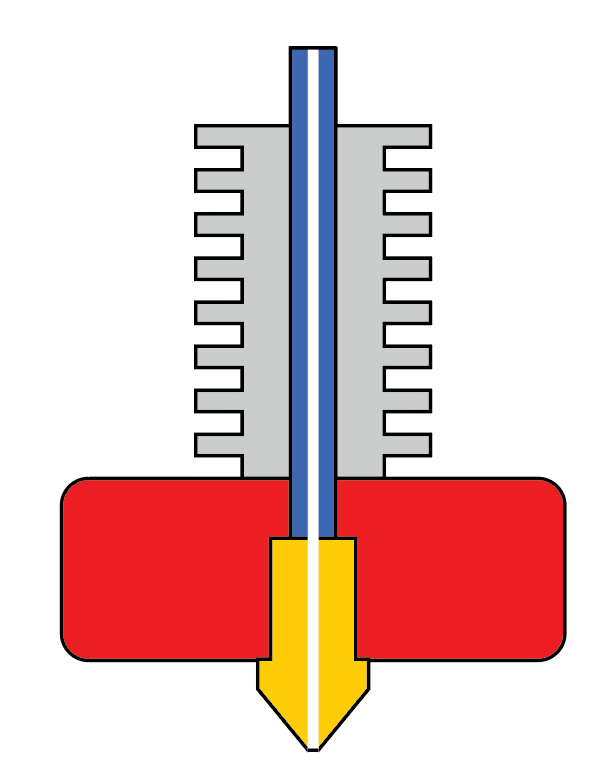
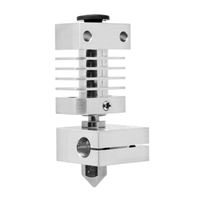
To resolve this, we’ll be installing an all-metal hotend. These hotends use a skinny feature just above the heat block to reduce heat transfer into the cold zone. Many all-metal hotends use a metal with low thermal conductivity for this part. By moving the PTFE away from the hot zone, the risk of PTFE breaking down is eliminated.
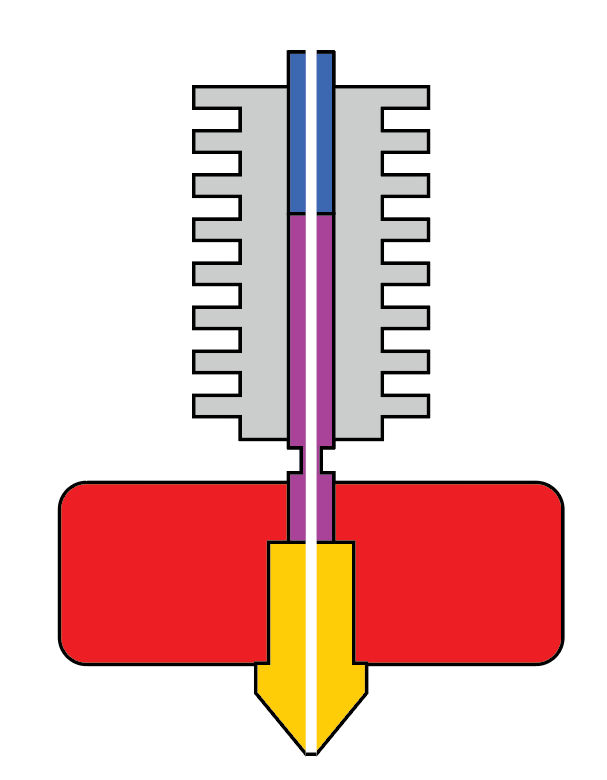
Photo: Nick Biederman. An all-metal hotend adds a metal piece designed to minimize heat transfer, shown here in purple, allowing the PTFE tube to terminate at the top of the hotend.
We’ll be starting with a hotend temperature around 250°C and adjusting up or down as needed. A stock Ender 3 v2 can get up to about 260°C, so thankfully we should be able to get good prints without needing to change the heater. Some filaments, like polycarbonate, print at temperatures in excess of 300c. Reaching these temperatures with an Ender 3 would require additional hardware modifications and modifications to the printer’s firmware.
In addition to an all-metal hotend, printing with nylon (especially carbon fiber or glass-filled nylon) requires a wear-resistant nozzle. There are many options out there, from hardened steel to ruby tipped nozzles, though we’ll be keeping it a bit simpler. The Micro Swiss kit comes with a nickel-plated brass nozzle. While this nozzle won’t hold up as well as a more exotic wear-resistant nozzle, it’s a good choice for everyday printing and occasional abrasive materials. It should be a great fit and can easily be replaced if I wear it out.
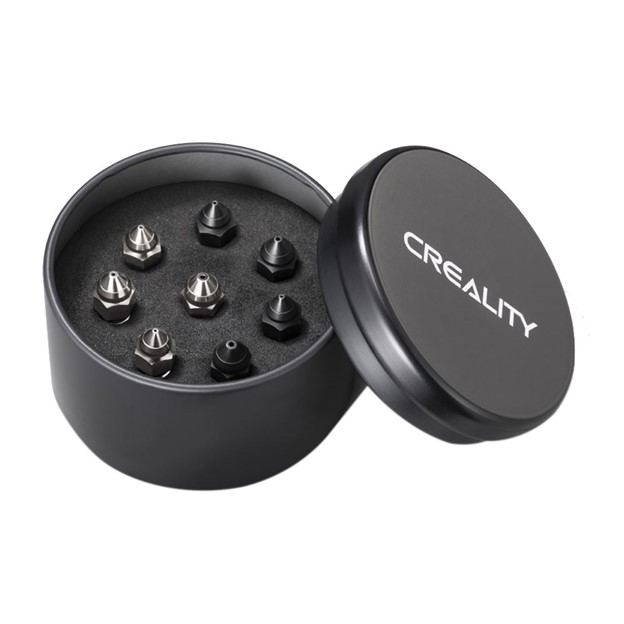
There’s many options for wear resistant nozzles, including this assortment made by Creality.
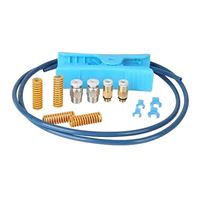
I also chose to upgrade my bowden tube from the stock PTFE tube to a Capricorn tube. The Capricorn tube has a slightly smaller inside diameter than standard PTFE tubes. This is especially useful with bendy filaments like TPU that tend to buckle in the bowden tube. Since a hotend replacement requires the extruder system be fully disassembled, this is a great opportunity to upgrade.
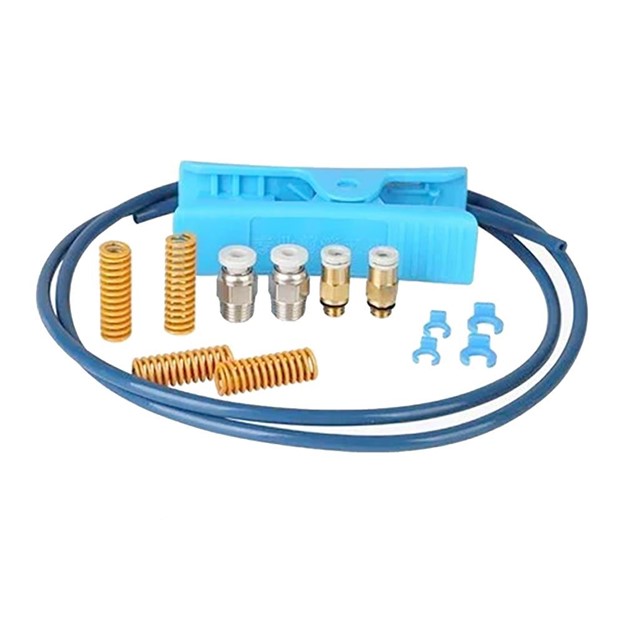
Upgrading the bowden tube can easily be done at the same time as the extruder.
Swapping the hotends is a pretty easy process. You’ll need a wrench that fits your nozzle, some metric allen wrenches, and a phillips-head screwdriver. The Micro Swiss kit includes some of these. If you plan to swap your bowden tube, you’ll also want a sharp knife or tubing cutter and some zip ties. Micro Center offers a kit that includes a tubing cutter and some replacement fittings. The pneumatic fittings included in this kit are useful if you choose to make your own filament dry box, so I opted to buy the complete kit. You can also buy the tube by itself.
Check out our Step-By-Step guide on replacing your hotend.
Other considerations for nylon printing.
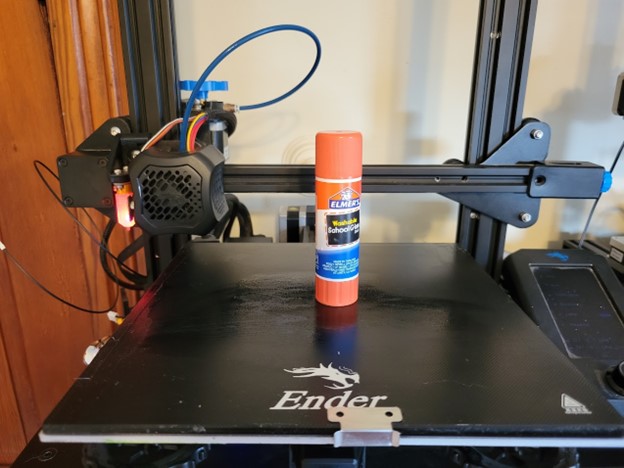
Our next consideration is the printing surface. Garolite is commonly used as a build surface for nylon. It’s widely available cut to size for common 3D printers and as larger sheets from industrial material suppliers like McMaster. Many people have reported success using glass coated with a PVA glue stick. Since I already had a tempered glass bed for my printer and a glue stick on hand, I decided to start there. It worked well for the parts I printed.
Lastly, we need to talk about moisture in the filament. Most filaments are somewhat hygroscopic, meaning they absorb water from the air. If too much water is absorbed it will start to boil off as the material is printed, resulting in bubbles in the finished print. Common materials like PLA and PETG don’t absorb too much water, so as long as you’re not in an extremely humid environment it’s usually not an issue. Nylon is extremely hygroscopic and will quickly absorb enough water to cause issues in almost any environment. For that reason, it’s necessary to ensure the filament is dry, and remains dry, during the print.
There are a few options for dealing with moisture, using either active or passive drying. Active drying options are essentially low temperature ovens that drive moisture out of the filament. Passive drying options are compounds like silica gel that absorb moisture more readily than the filament. Passive drying works great for storage, but not removing moisture. Active drying will restore wet filament but is more complicated and expensive.
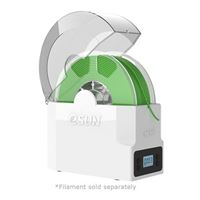
If you plan to print a lot of nylon, it’s worth investing in a filament dryer and storage box like this one from eSun. If you only plan to print with nylon occasionally, you can make an inexpensive dry box and dehydrate your filament if needed. As I won’t be printing with nylon very often I choose the latter option, repurposing a food dehydrator in my shop to dry the filament as needed. I built a dry box using the extra fittings from my Capricorn kit and used this model from Prusa. I skipped the hydrometer for now but will likely add one in the near future.
Printing with nylon
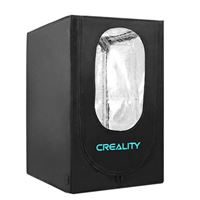
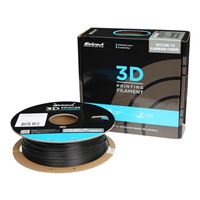
With our hotend swapped, build surface chosen, and filament moisture control sorted out, it’s time to start printing. I’m using Inland’s carbon fiber nylon filament. I first printed a 10x10x10 calibration cube with a hotend temperature of 260°C and a bed temperature of 60°C. I disabled print cooling, and closed off the air vents in my shop to avoid drafts. An enclosure, such as this one from Creality, would also work well to eliminate drafts. This cube was printed with .2mm layers. I used Elmer’s disappearing purple glue stick on the stock Ender glass bed.
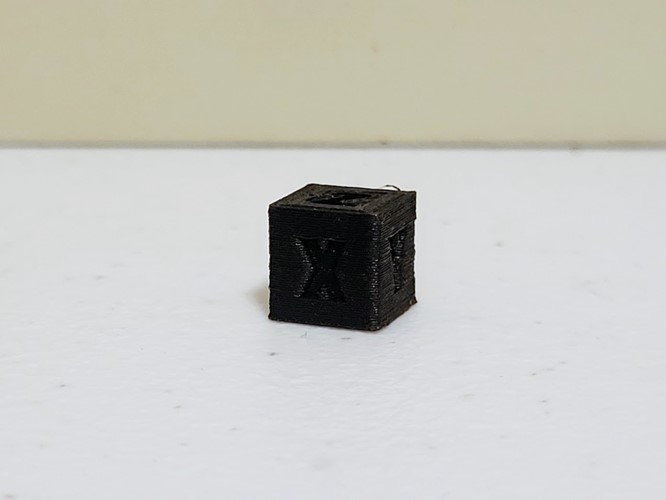
Photo: Nick Biederman. This 10x10x10 calibration cube is the first nylon print to come off of my printer.
After confirming my starting settings should work well with the calibration cube, I printed a benchy. The results weren’t perfect, but they were adequate for the first real parts I wanted to print.
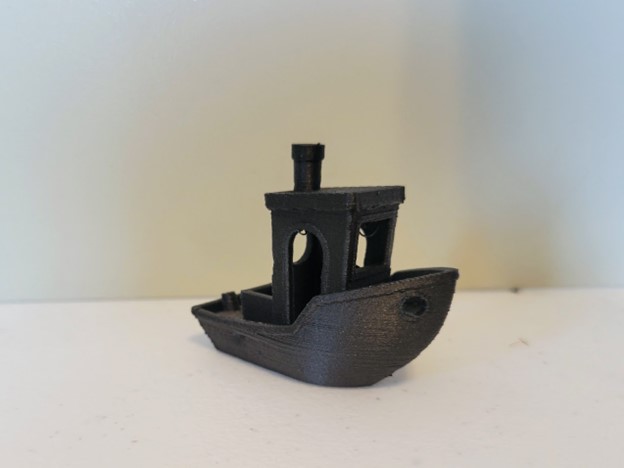
Photo: Nick Biederman. This benchy has a few issues, but these results are adequate for the parts I plan to print.
I found nylon to be a bit more particular about first layer height than other materials like PLA and PETG. I installed a BL touch leveling probe on my printer a couple of years ago, which definitely helps get good first layers.
When the bed is hot the parts are extremely difficult to remove. After letting the bed cool to room temperature some popped off on their own, and the rest just needed a little persuasion with a putty knife. The purple glue stick on a glass bed seems to work very well, so I’ll be sticking with it for my nylon prints. I also found the filament to be much more brittle than PLA and PETG. It can’t bend nearly as much as other filaments without snapping, so some care when handling it is necessary. I didn’t experience any breaks while printing, but did break it a couple times while loading and unloading the filament.
With my settings dialed reasonably well, I printed the parts that prompted this whole project. My dad needs some custom fittings for the heat and AC system in a car he’s restoring, and the PETG fittings I printed failed. Hopefully these nylon fittings will hold up better.
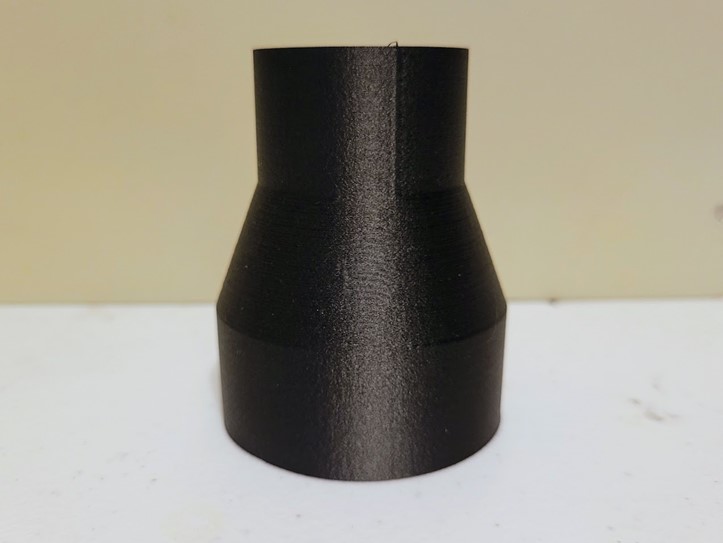
Photo: Nick Biederman. This fitting was the impetus for the modifications I made on my printer.
Making the necessary modifications to print nylon turned out to be a very simple process. It took me about two hours from the time I unplugged my printer to the time I had it up and running again. I used this as an opportunity to inspect and adjust a number of parts on my printer, which certainly added some time to the process. Taking the time to make these modifications has opened up a whole new capability for making functional parts with my 3D printer. I wouldn’t call my modified Ender 3 a nylon-printing beast, but I’m confident in its ability to produce the occasional nylon part I may need.


.png)

